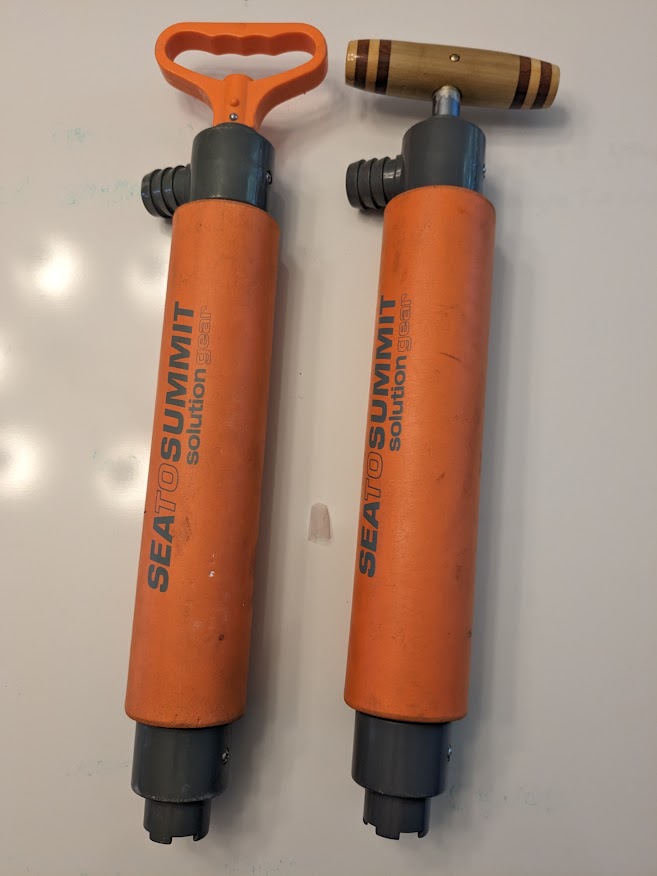
Well, I was working in my garage, kind of cleaning up. That means I was mostly moving piles of stuff from location to another. Turns out that the rule is true: the amount of junk will expand to fill any given space.
I’m moving stuff around our boats and one of the hand bilge pumps sitting on top of the boat fell to the floor. Now this has happened before but this time the handle landed just right and shattered.
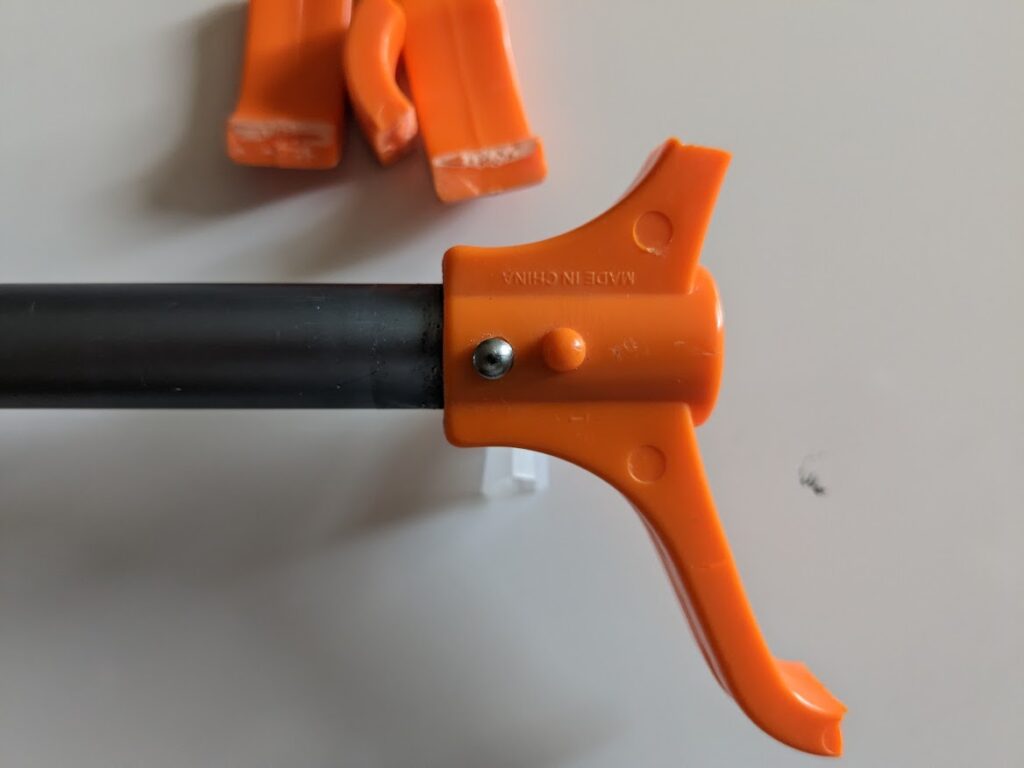
This kind of plastic does not glue well and that is a high stress area so it looks like this one is done. They don’t sell a replacement handle. A new pump is about $35.00 with tax and shipping.
But then I thought wait, otherwise it’s a good bilge. It pulls mud, sand, and gravel and still works great. How can I fix it? I searched and found where someone had a 3-D file to print a nearly identical handle but since my printer is still on back order (uh, right), I started coming up with a repair plan.
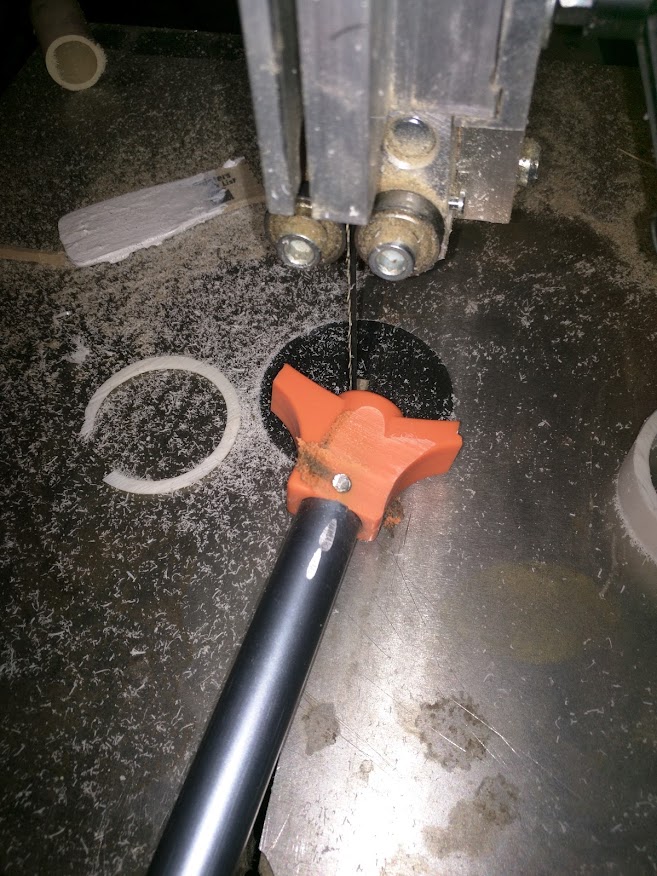
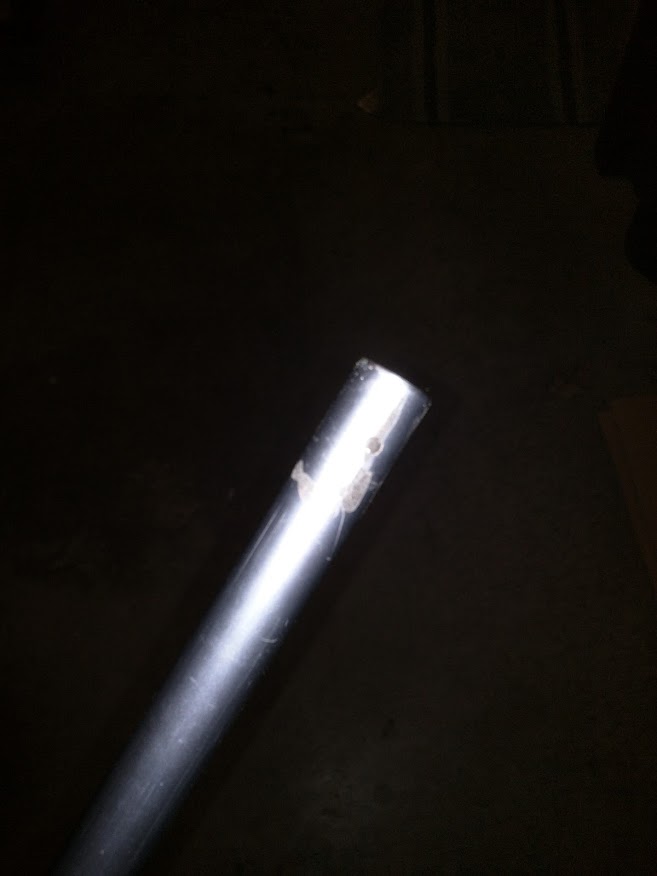
I started by grinding off the rivets that held the handle in place. I should have just drilled them out but instead I took the more destructive route of cutting the plastic off the pump shaft.
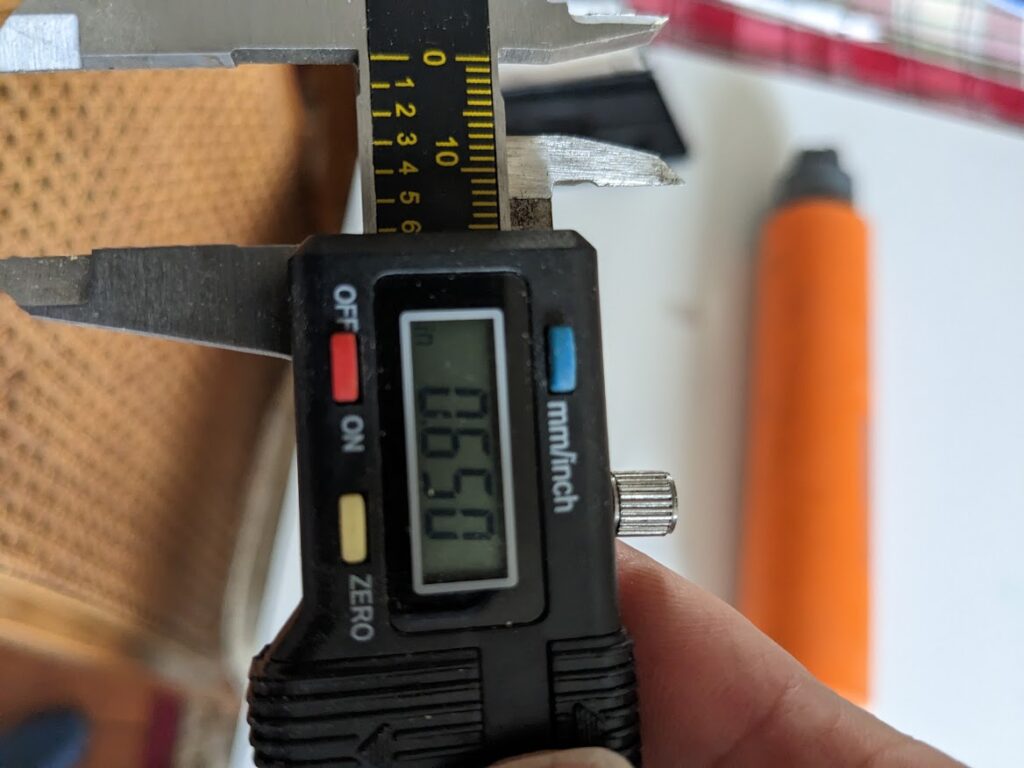
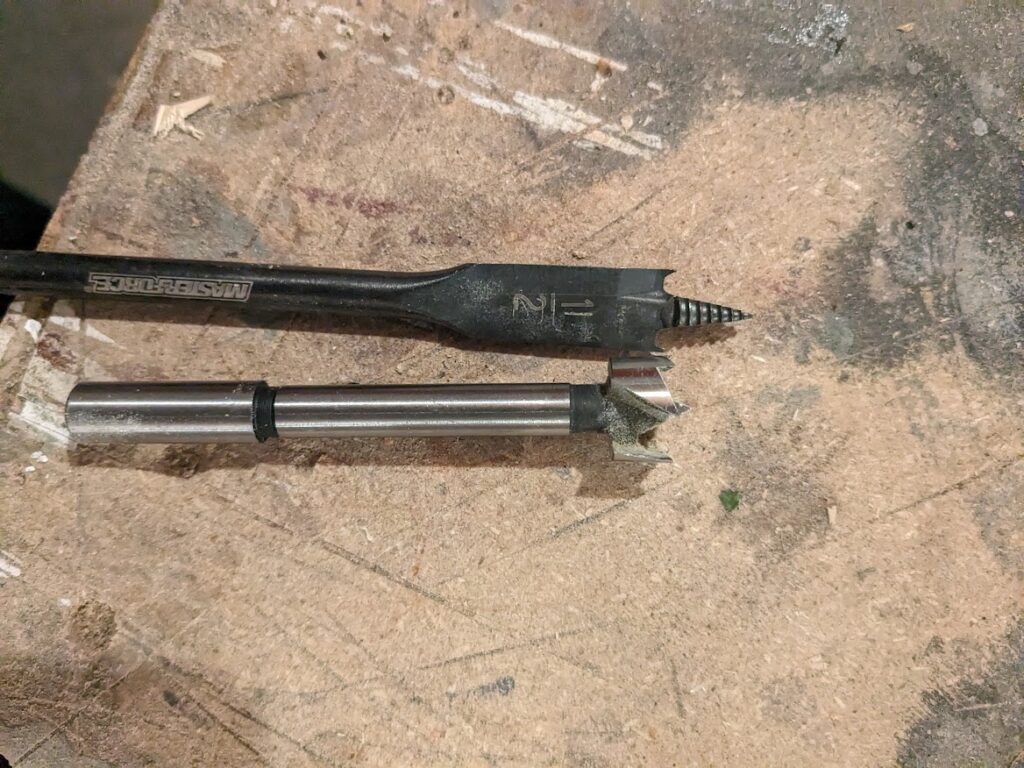
I started with an 1 1/4″ poplar closet rod. I maybe could have used a 1″ dowel but I wanted to still have some of the handle left after I drilled a 5/8+ hole for the shaft. I used a 5/8″ forstner drill bit as I needed a deep hole and those types have smaller pilots than say a spade bit. Since 5/8′ wasn’t quite big enough, I used the bit like a router and expanded the hole until it fit the shaft.
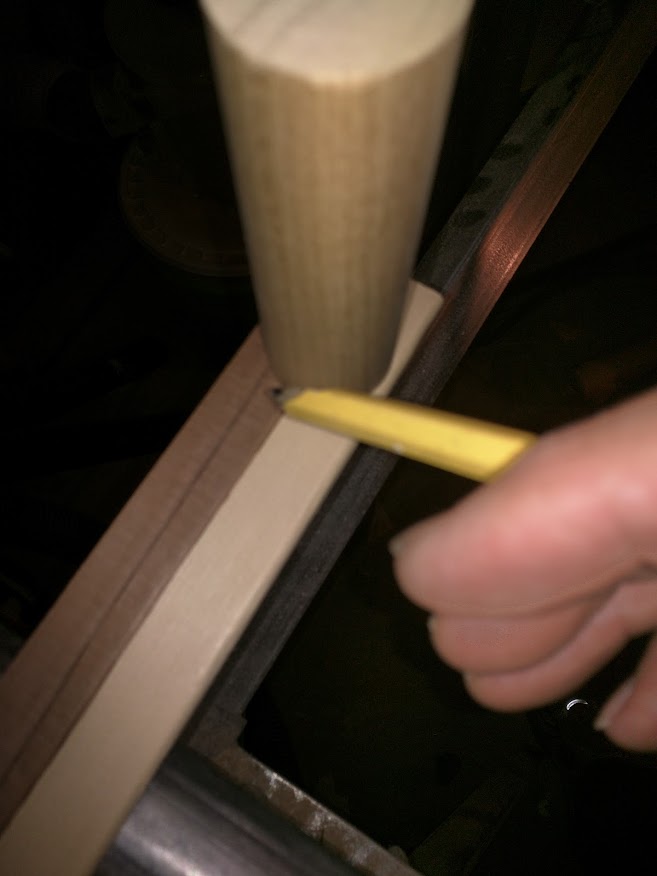
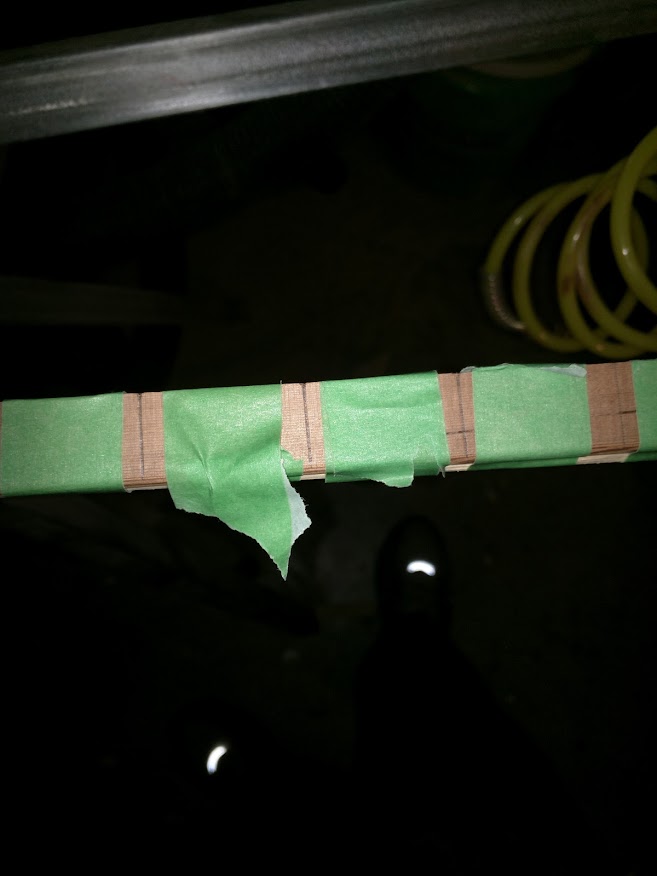
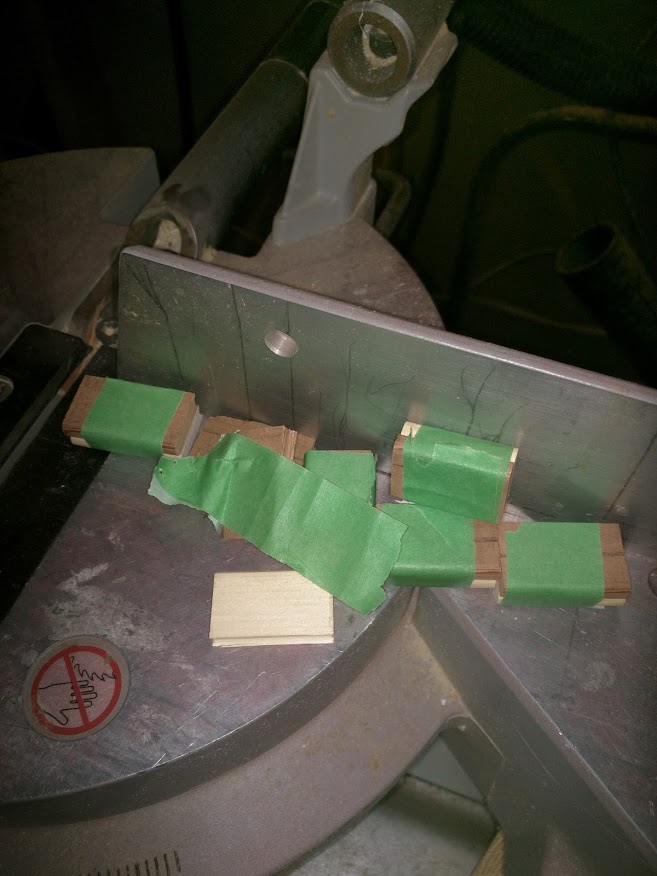
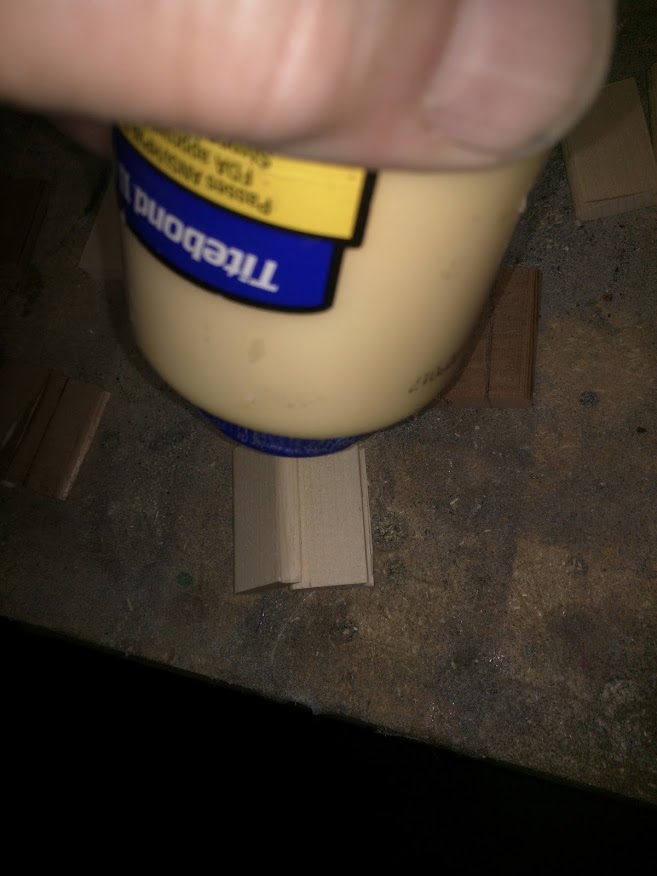
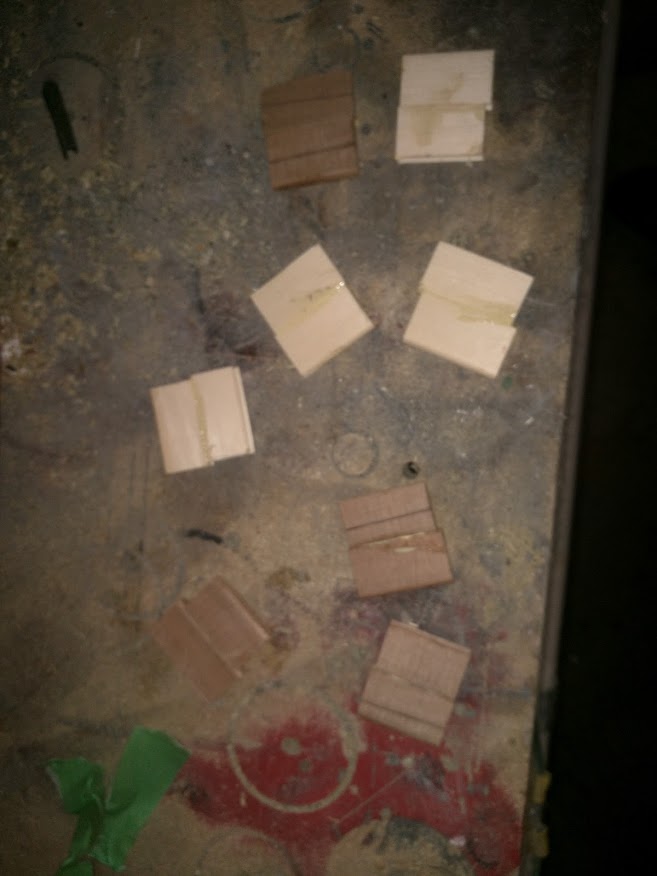
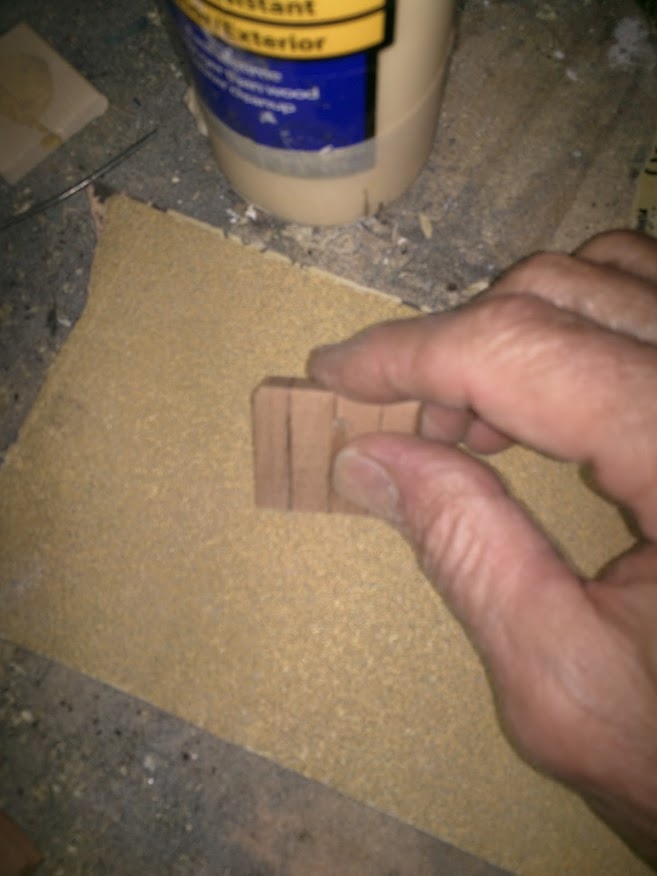
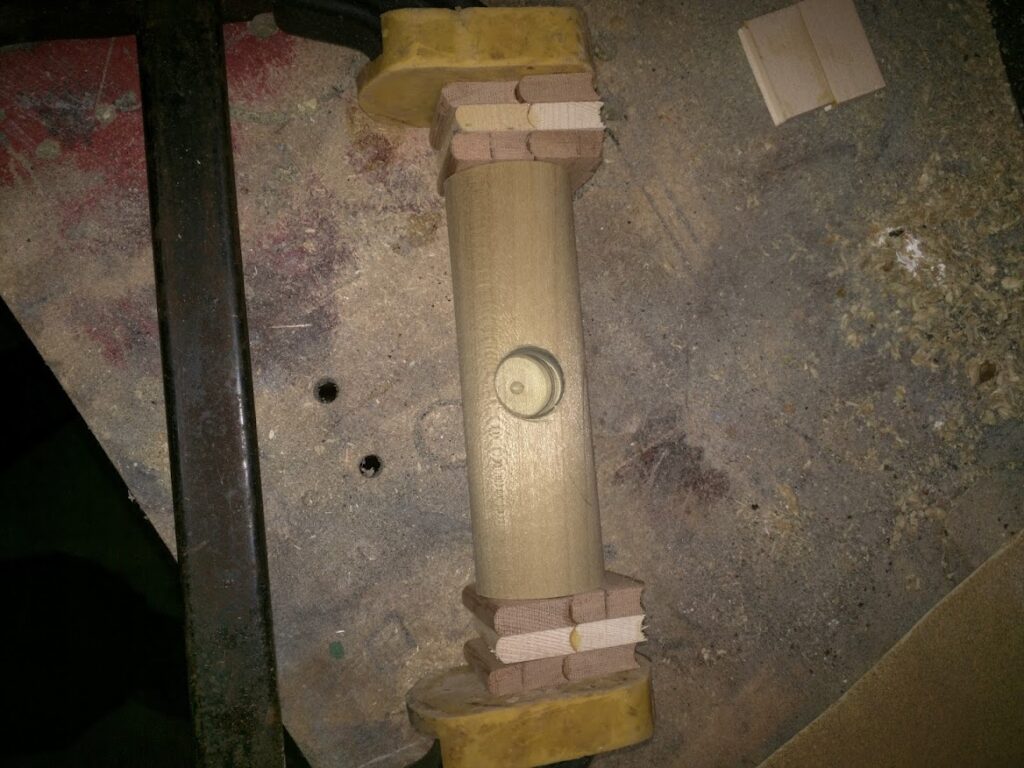
Once the hole was drilled I decided the length of this part of the handle. I simply put it in the palm of my hand and marked it to fit my hand. Turns out it was 3″. I needed to add some detail so I found some cedar strips left over from the last boat. I taped up the strips to keep them from flying around the room each time I cut them, then glued them together with wood glue. Normally I’d use epoxy here but I knew I’d be using epoxy to assemble the whole handle.
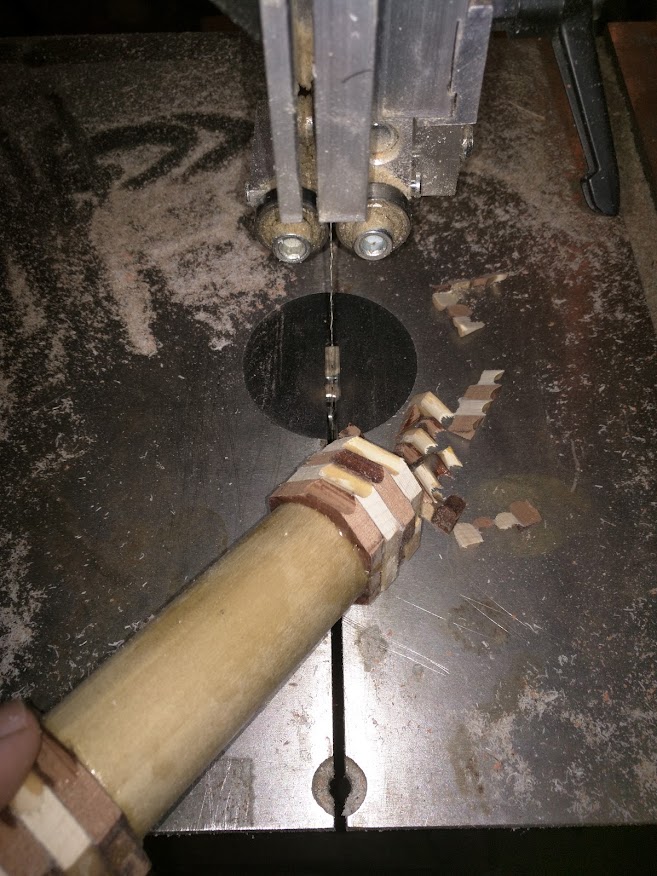
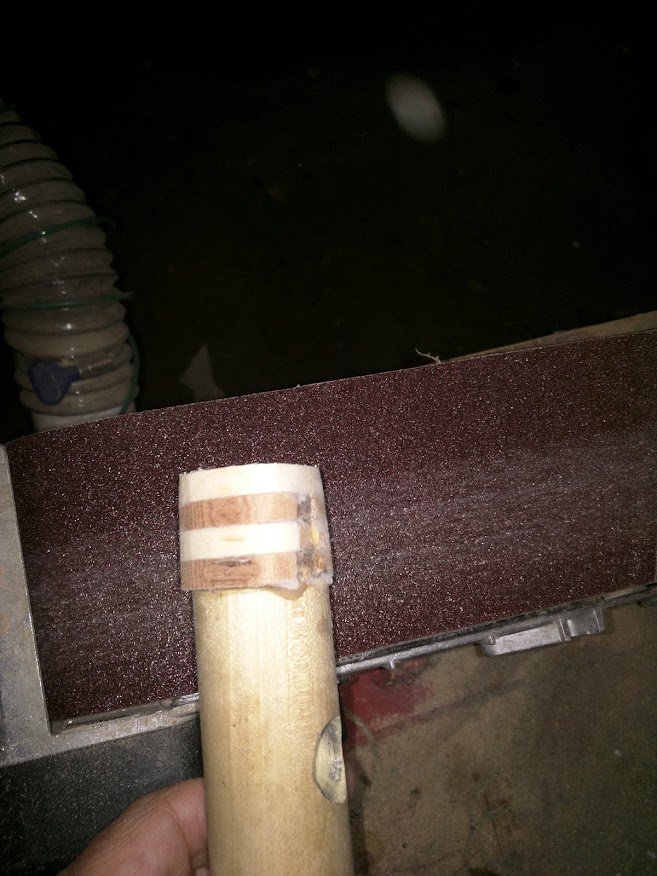
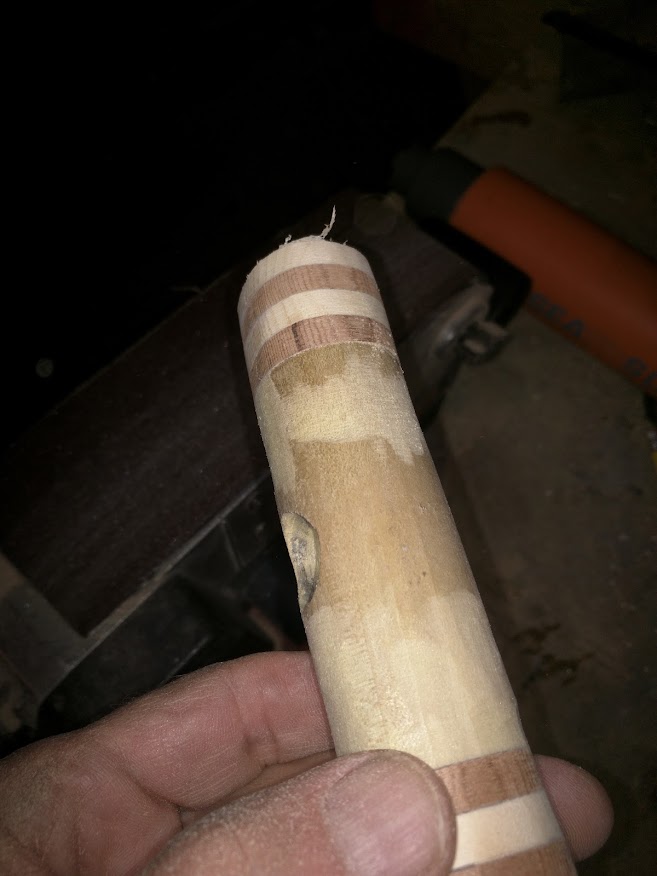
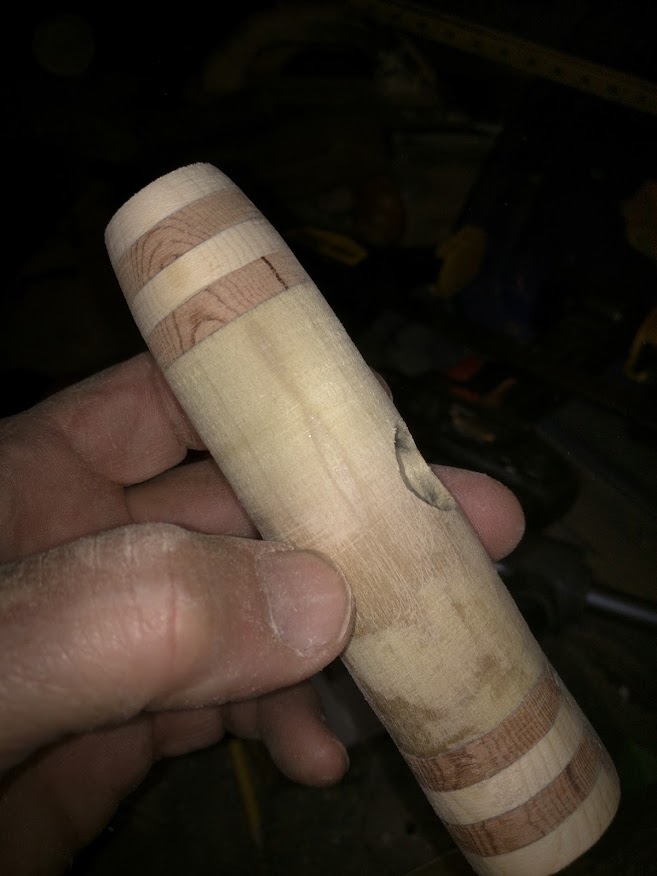
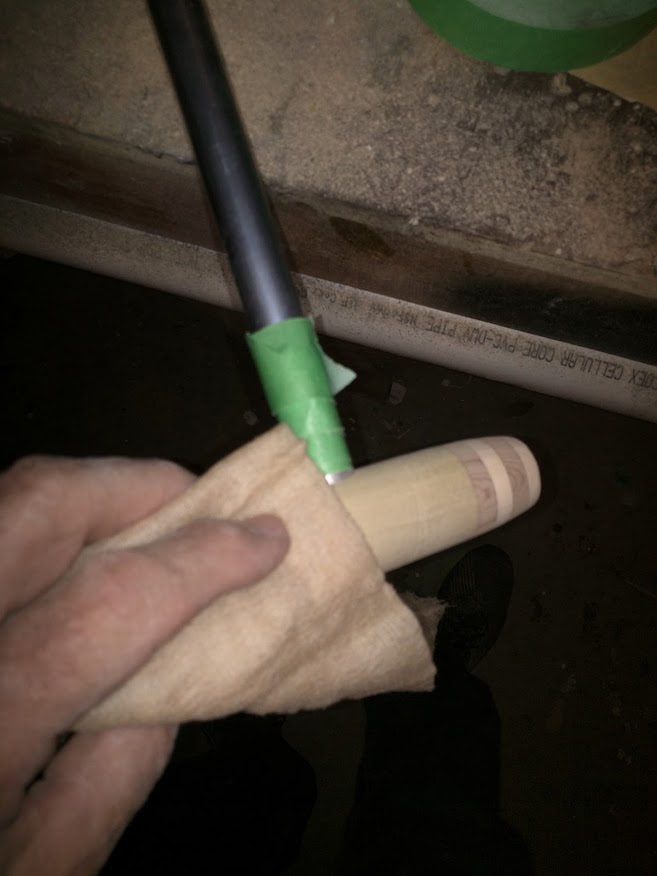
Once I sanded the taper into both ends using 60 grit, I moved to 120 then to 220 grit and it was ready for finishing. I stuck it back on the shaft to hold it and applied the first coat of marine varnish. You probably don’t have to use marine varnish here, but I would choose an oil-based varnish that resists water once it is cured.
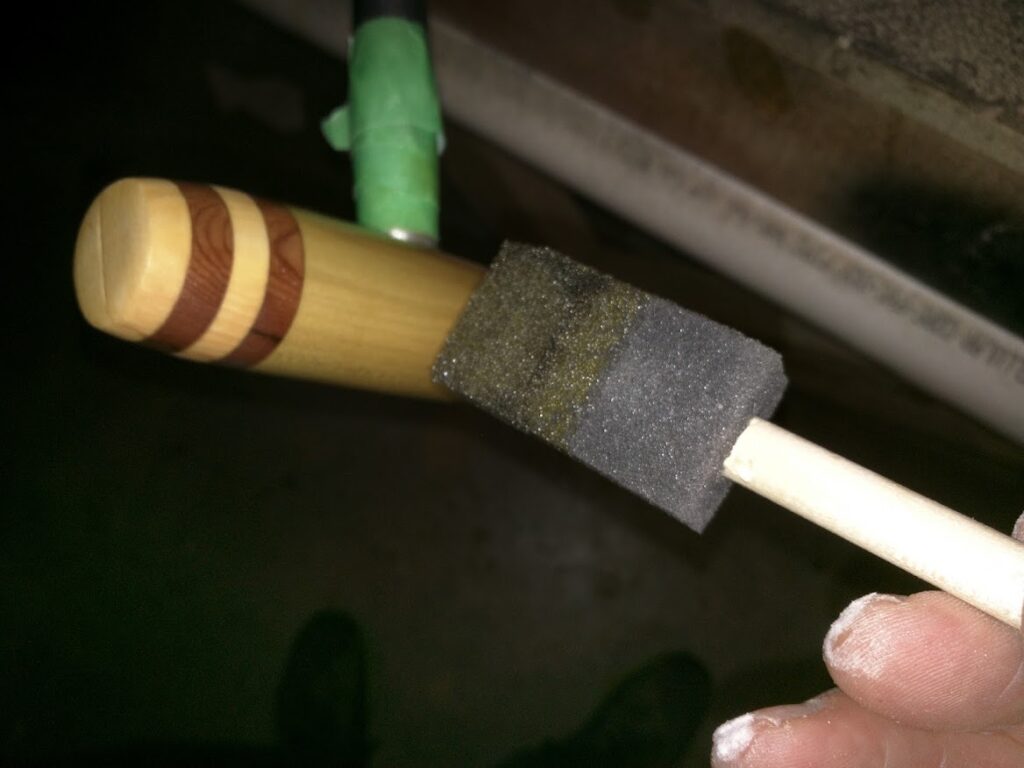
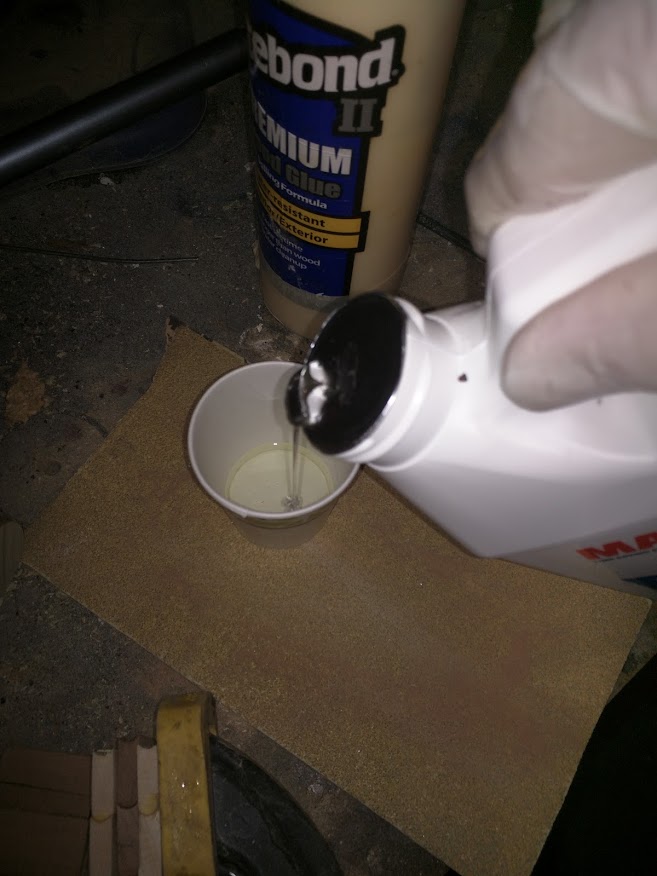
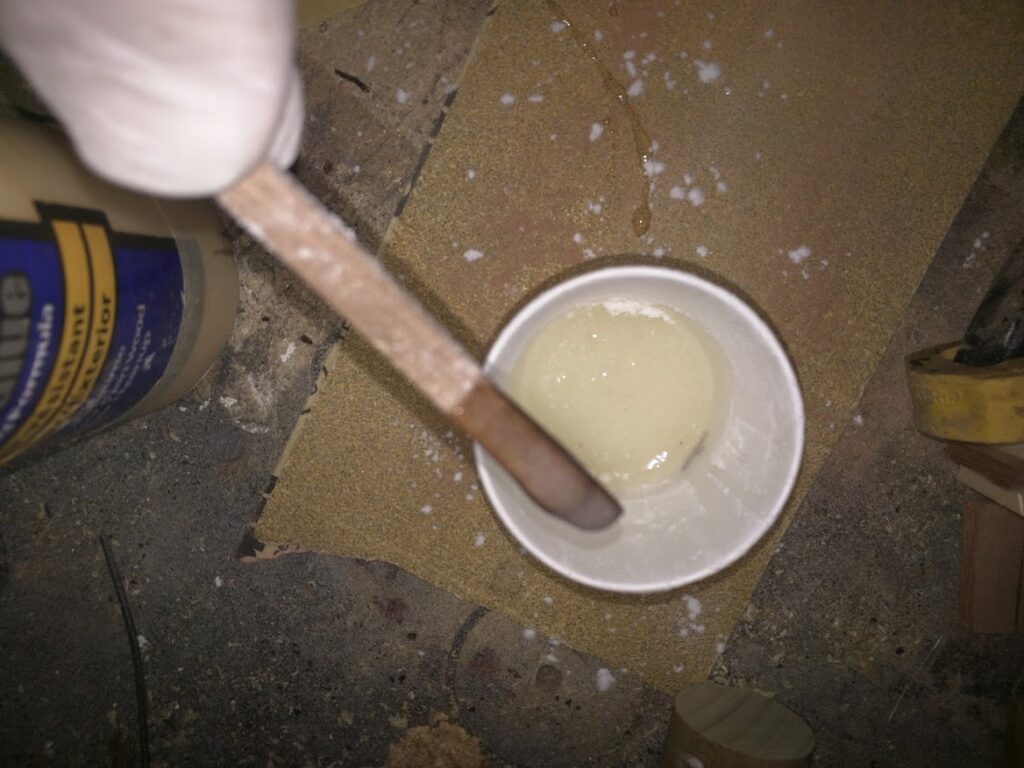
After two coats, It was time to permanently attach the handle to the shaft so I mixed up some epoxy without thickener and carefully coated the inside of the handle and the outside of the shaft then pressed the handle down tight. Once all the epoxy had oozed out of the handle, I cleaned off the excess with alcohol.
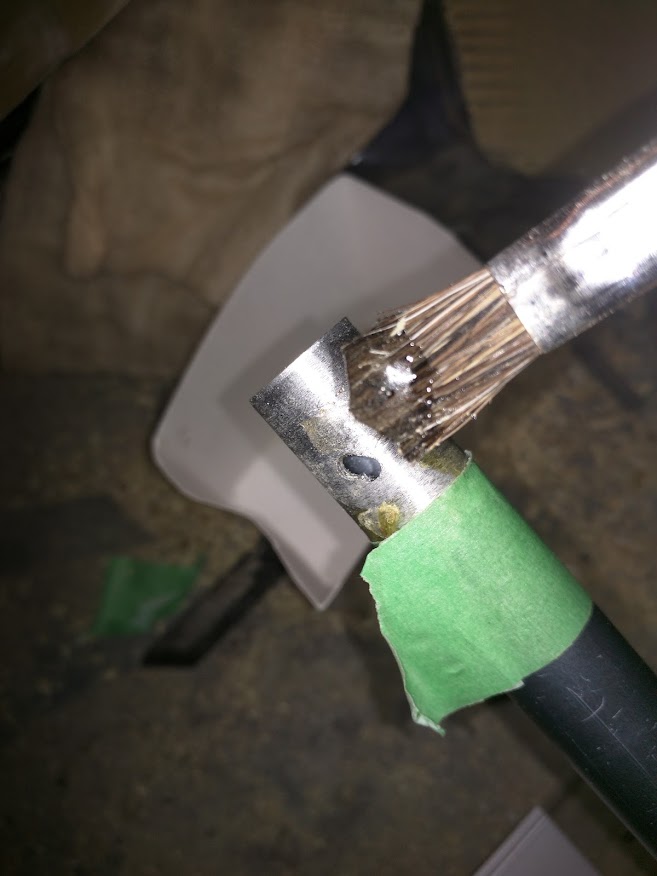
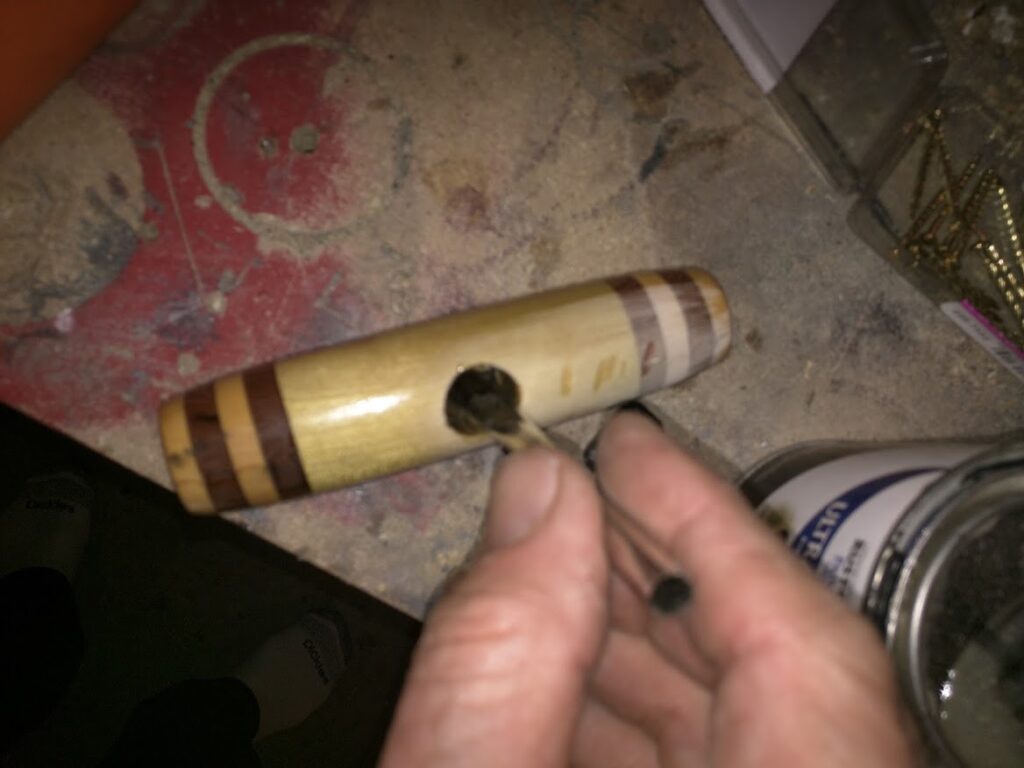
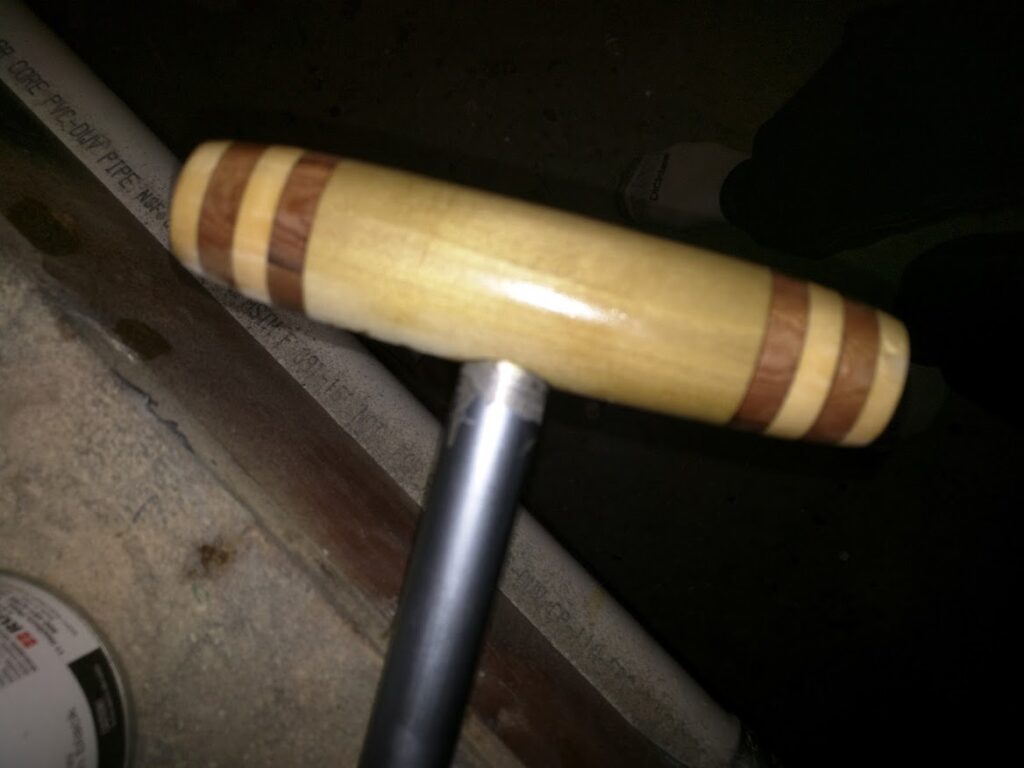
The original handle had rivets to hold it in place so I thought it might be a good idea, just to keep the handle from moving. I looked for brass or stainless rivets but couldn’t find any at the stores I frequent so I got the next best thing-brass nails. Not real substantial but all they have to do is keep the handle from stressing the epoxy. I probably could have omitted these but they ended up adding a nice detail to the handle.
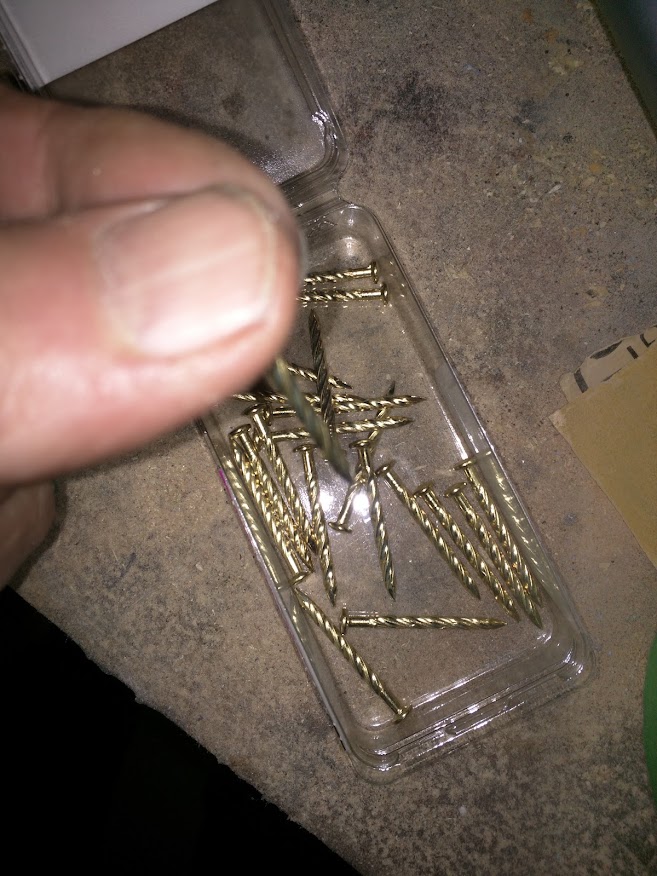
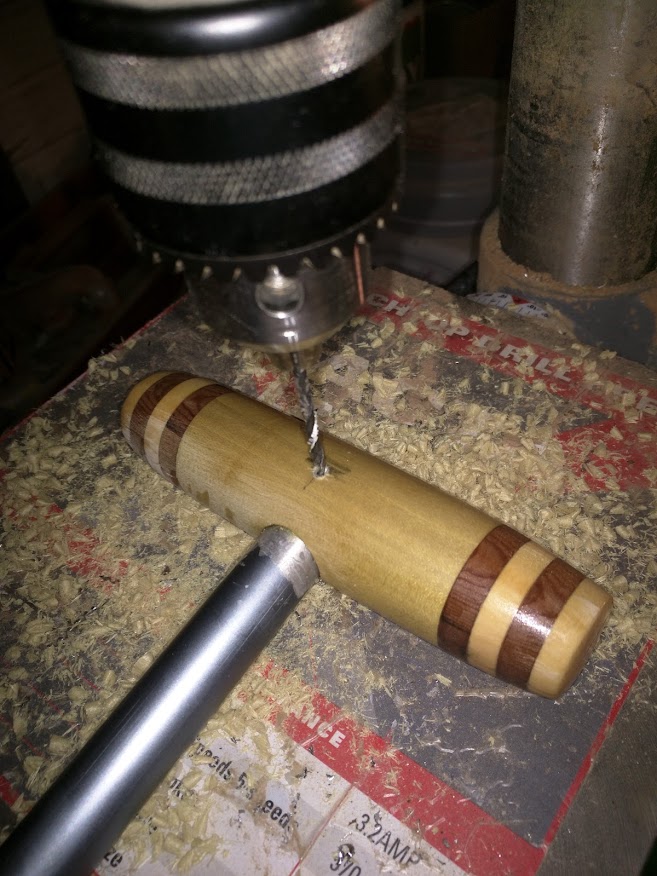
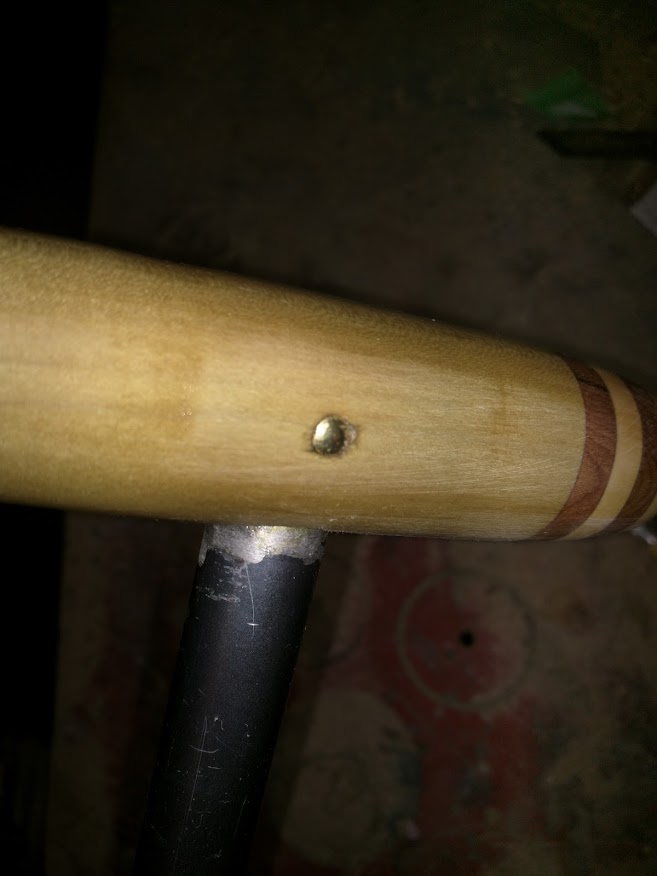
I used epoxy to seal the holes and hold the nails in place. Then I got back to finishing.
After each coat of varnish dried, I sanded it with 320 grit, used a tack cloth to get the dust and then applied another coat. I ended up with five coats.
I don’t think I spent more than three hours total time with this project. The time was more in allowing the varnish and epoxy to cure. That added up to a five day span.
I think it turned out pretty good. The handle sort of matches my kayak carrying handles and I had less than 15.00 in it. Mainly because I had to buy a 48″ long piece of poplar. I had the epoxy and varnish on the shelf. I suppose if you had to buy all that, then buying a new pump might have been more economical but sometimes it not about the money, it’s the challenge.
