Part 4
572! That’s how many blocks I would need to complete the 125‘ wall. 64! That’s what each block weighed. Early in May, I couldn’t make a decision on the block order. I had decided to order from Menards, but just couldn’t press the BUY button. Then one morning, I checked the website and amazingly, the very block I wanted was on sale for almost a dollar off each block. I placed the order immediately.
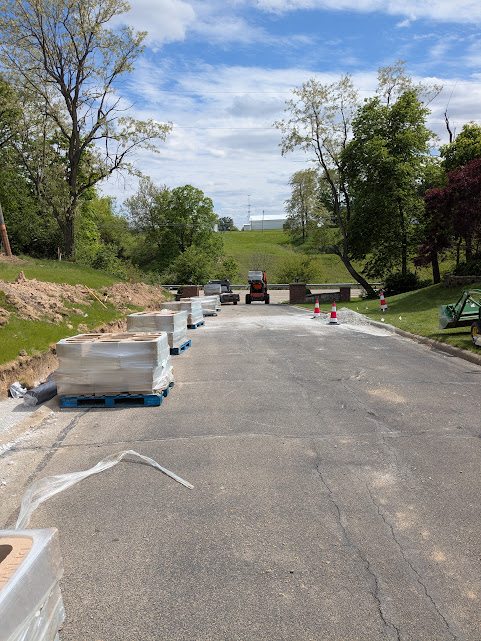
572 was exactly 16 pallets. The delivery charge for the load was $425.00 but that seemed worth it. I would have them deliver eight pallets and space them out along the length of the wall. Once I used up those blocks, I’d call for the second delivery.
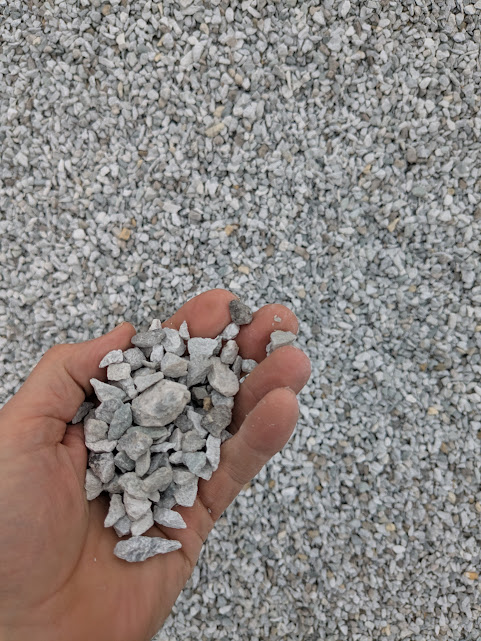
In the previous post I explained the packed CA-6 footings. While this provides a good base, it is difficult to grade, plus it doesn’t drain very well. I needed some small rock that would be easy to smooth out and would also fill the blocks to lock them in place. Of course pea gravel would have been a good choice but I couldn’t use that 15 ton pile up the hill. The gravel had too much dirt mixed in. That would limit the drainage and would not be good for maintaining a level base. So I opted for 14 ton of 3/8 white rock.
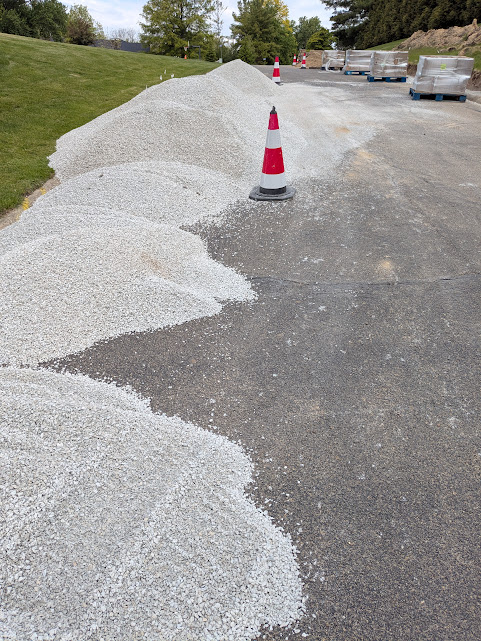
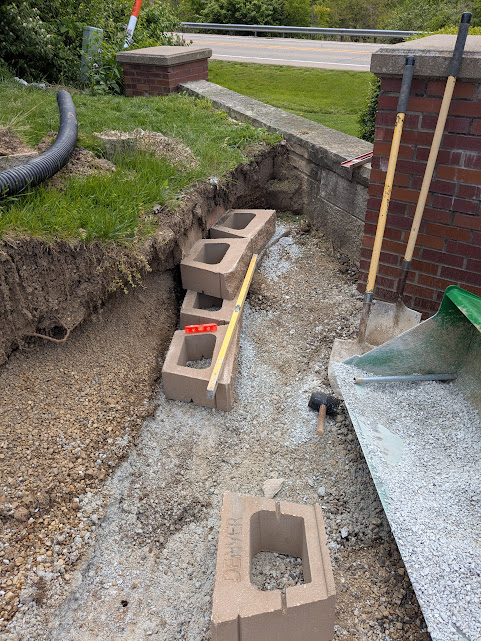
I started at the lowest point of the grade. The previous wall was snuggled right up against the flagstone wall along our front entrance. The new wall would start there as well.
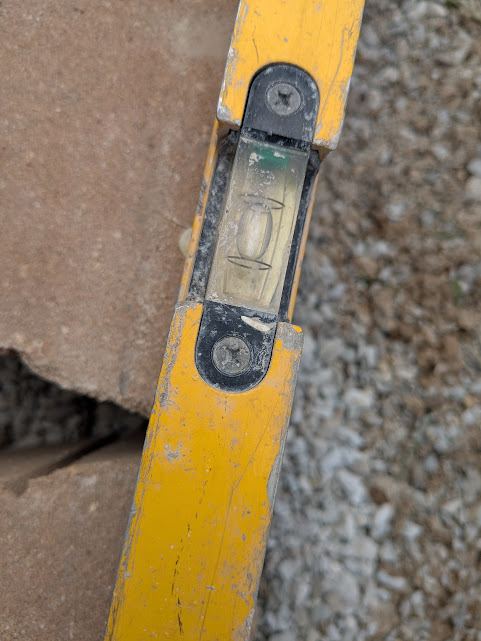
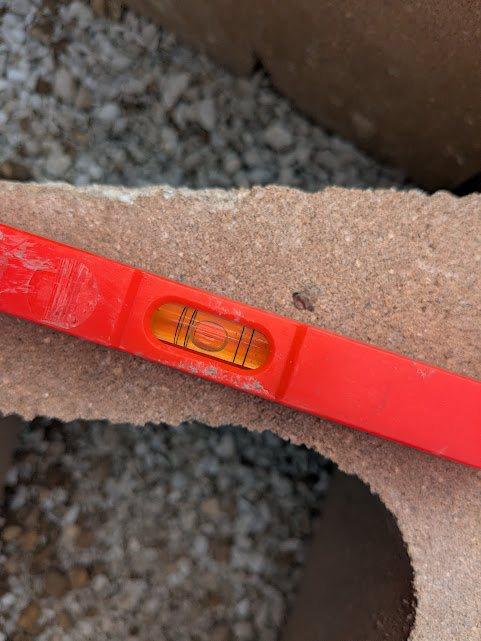
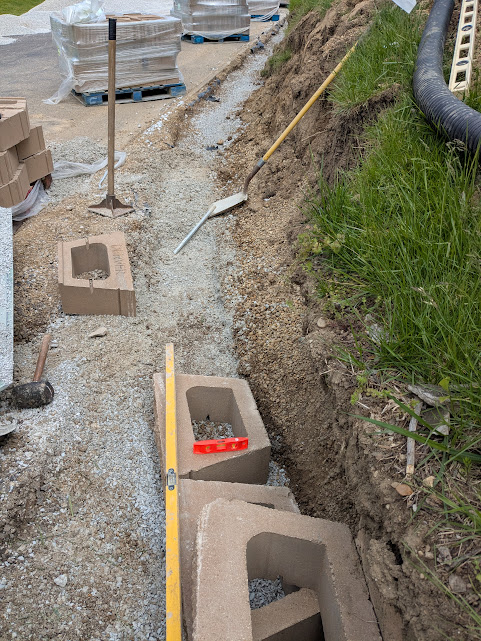
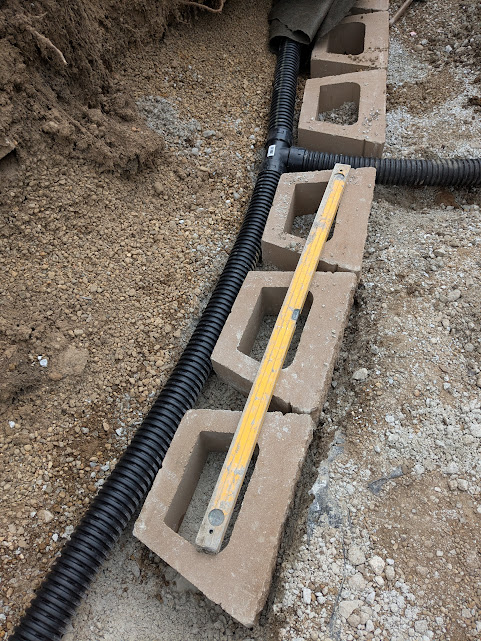
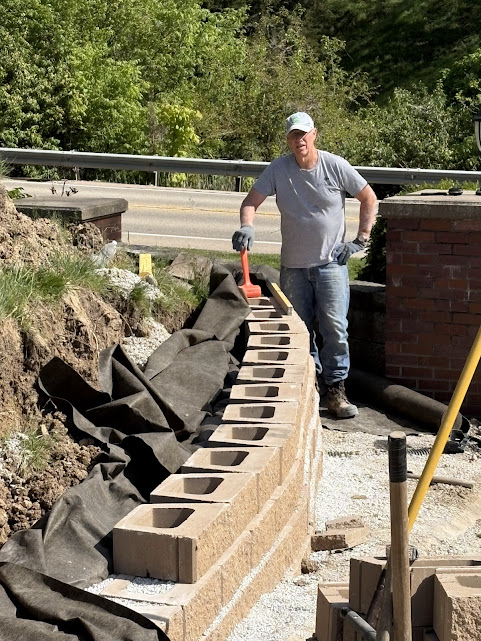

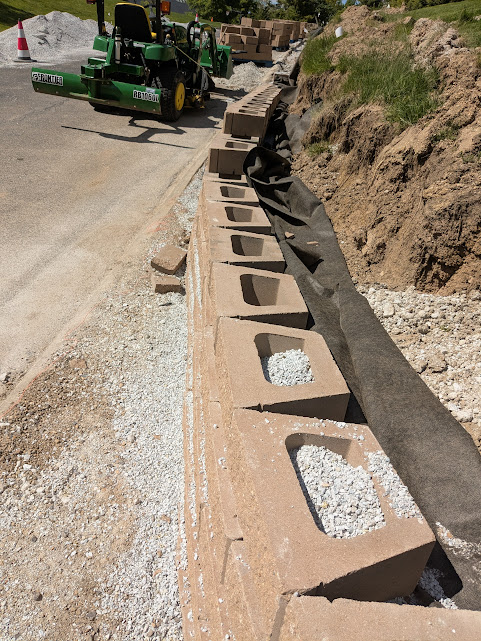


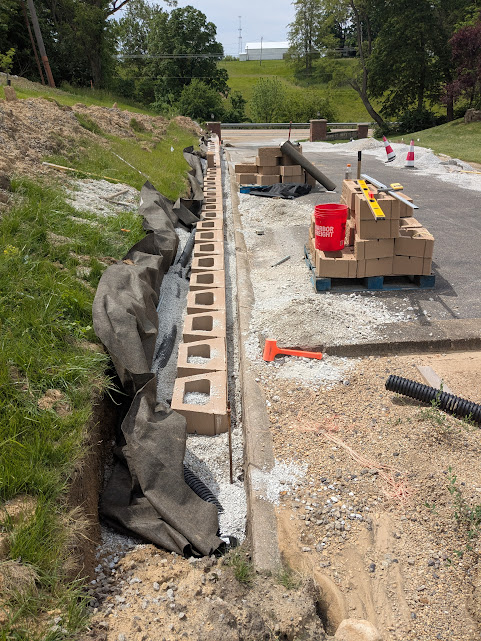
I’d used up almost all of the first load of block so a message to Menards delivery and the next load was on the way.
Placing the second load of blocks went pretty quickly. The only slowdown was making sure I had gravel behind the wall separated by landscape fabric. Plus I had to fill the blocks with the gravel. I ended up using a lot more of the gravel than I first thought, so I had another 8 ton delivered.
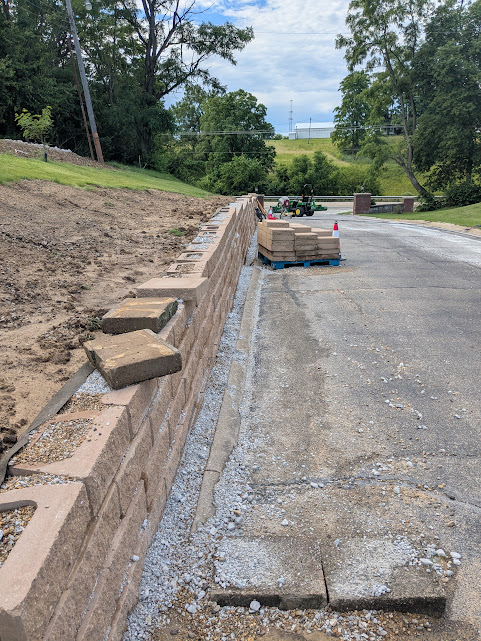
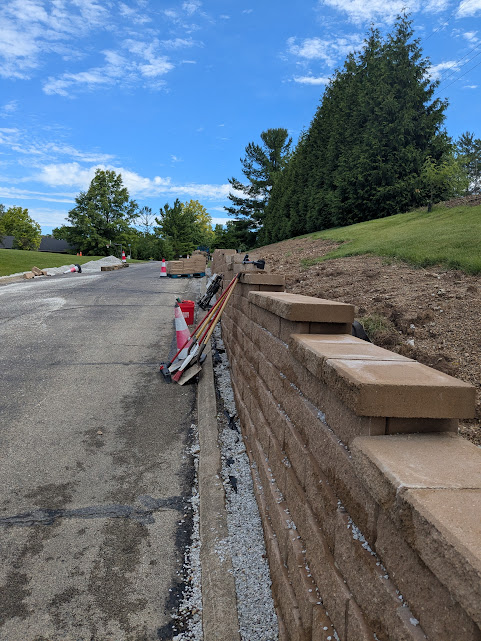
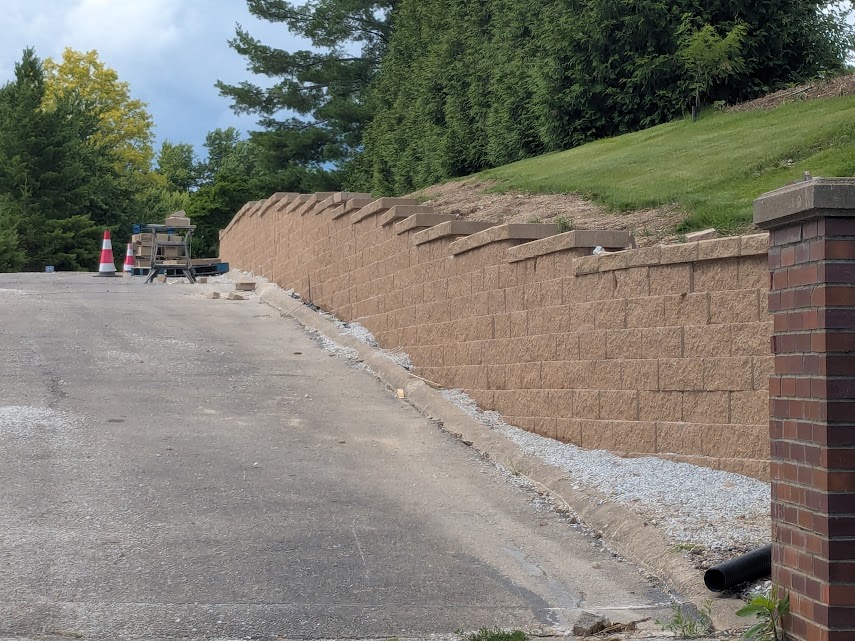
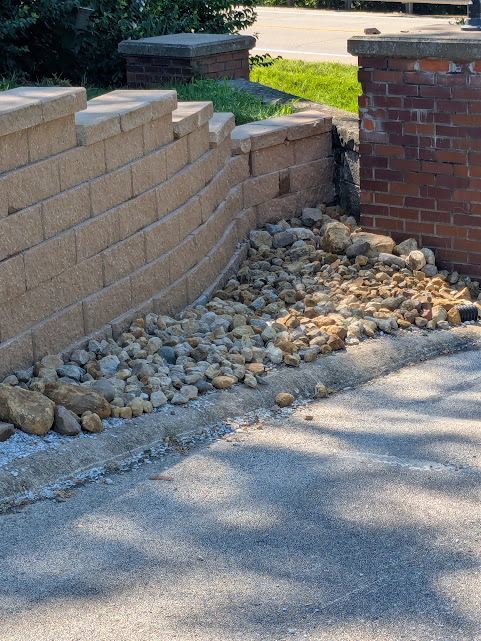
A week later, the wall was essentially done. It was time for the cap. I would need just over one-hundred 16″ wide caps. I started placing the caps at the lower end. As hard as I tried, some of the blocks were not as even and level as I would have liked. So I used the cap to level out the wall and to hide most of the imperfections. If the cap is good, you might not notice other parts of the wall.
On some sections, I used colored mortar to secure the caps. Where the block was more even, I used construction adhesive. In either case, I use plastic shims to tweak the cap to get it as level as possible. It actually went pretty quickly.


What’s the next ‘step’. To be continued with my next project
Wow!