Part 2
And so it begins
The first item on my list for the wall was to solve the water problem. Over time, the neighbors gravel parking area had gone out of grade. Instead of sending the water away from my property it was now making a bee line towards it. Slowly, that constant water flow had allowed the dirt to slide down the incline until the wall could no longer hold back the flow. Nature and gravity are a very forceful combination.
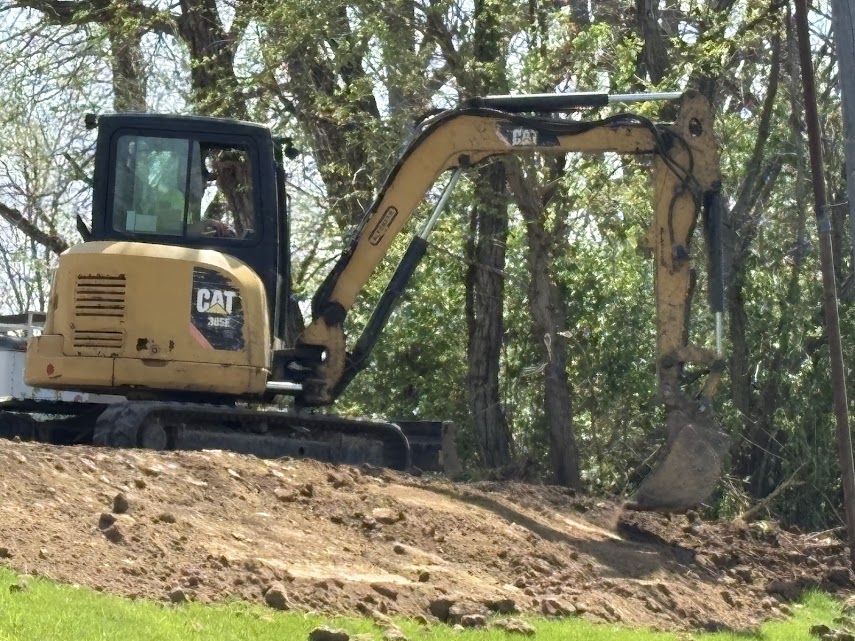
After chatting with the neighbor, he agreed to regrade the gravel on a regular basis and would allow access of excavating equipment on his lot. I arranged to have a local excavation company to install a large basin with a 12″ drain tile that would put the water further down the hill. In turn the water would drain to the highway ditch over carefully placed riprap.
What is riprap you asked? No, it’s not the ne’er-do-wells that hang out after dark on the corner, it’s a term for well placed rocks to slow the erosion and damage moving water can cause. You see that kind of rock along roads, shorelines and yes drainage ditches from large areas.
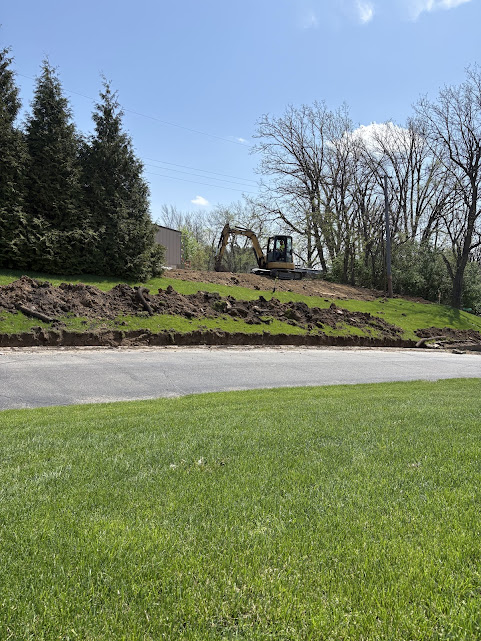
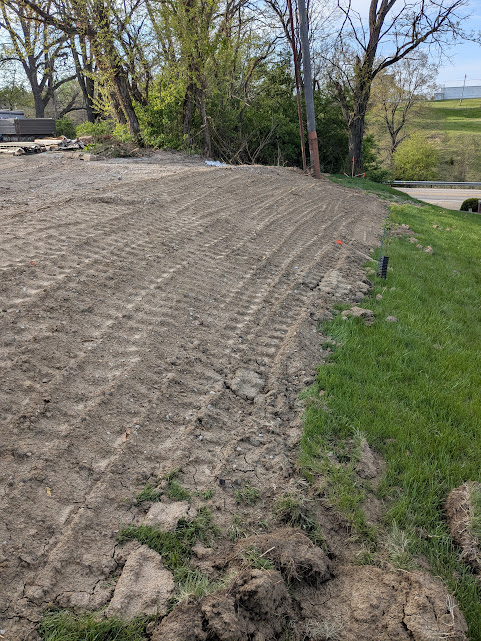
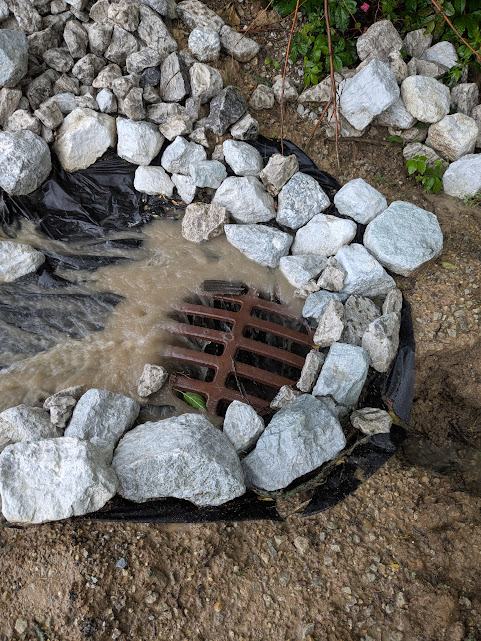
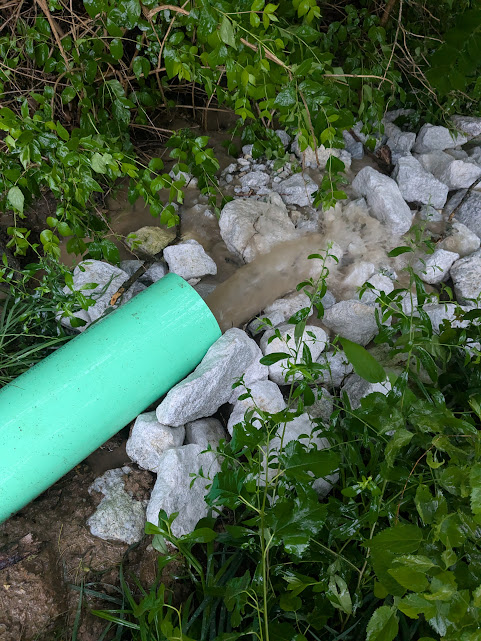
Additional riprap was added to convince the water to slow down and to take different routes to the highway ditch. For now it’s sort of working. Some of the water is leaving the riprap ditch early and heading towards the flagstone wall that marks the front of our property. The contractor is coming out to inspect it in a few days and I’m hopeful that there is a quick and easy solution.
With the drainage mostly dealt with, it was time to start the deconstruction of the wall. What am I going to do with 8-10 ton of old block that I’m removing?
I’ve got a plan…