The saga of the repair of my front door
Have you ever started a quick project or task and slowly watch it expand into a huge nightmare? I have. Usually for me, it’s plumbing. This time though, it was just a quick paint touch-up. Or so I thought.
First, some backstory.
It started about three years ago. The paint on the front door began bubbling a little. That particular color has been on the house for over 15 years so I wasn’t too surprised. The door is made of two plastic panels that sandwich a wood (or some sort of wood product) frame. Pretty common construction.
I had some left over paint so a scraped the few areas, ran over the spots with some sandpaper and touched up the door.
Done! Next project!
A week later there were a few more paint bubbles so I scraped, sanded and touched-up the door again.
Heading into summer, it was starting to get warmer during the day. And the door gets a lot of direct sun early in the day. Again, a few weeks later, even more bubbles showed up. This time it was different. Some of the touch up I had done previously was bubbling. It was then that I noticed that the green paint wasn’t sticking to the original brown paint.
So this time I sanded all the way down to the actual door panel, past the brown, past the gray primer right to the white plastic. I touched up all the bubbles and then just for good measure, I gave the whole door a quick roll-on coat to even out the touch-ups. Soon after that, all hell broke loose.
Only a few days later, 30% of the door was peeling and bubbling. I had a problem.
Every bit of the paint that was failing was peeling off the original brown paint. It couldn’t be a moisture issue. Not with a plastic door. Besides the brown paint base wasn’t peeling, just the green top color.
I reasoned and have since kind of confirmed that the green latex paint ended up with so many layers that when heated and cooled the thick latex would expand and contract (which it’s supposed to do) then release from the base coat (which it’s not supposed to do). Every time I touched up the door, it added to the problem. I thought back over the years and realized I had freshened up the door every so often with a quick roll-on coat and all that paint became too thick for the base-coat to support.
A for effort, B for execution, D for results
To solve this problem, I had to get the paint off the door. But my experience told me that I just couldn’t sand all that latex off. Latex gums up sandpaper so fast you can barely do a small section before you are replacing the paper.
You can’t use paint remover on plastic. It softens the plastic and when it hardens, it becomes brittle.
I thought maybe heat could work and would allow the plastic to cool and retain it’s strength. So that’s where I started. Using a heat gun, I carefully worked the hot air and the paint began melting away from the door. I quickly finished the flat part of the door and started on the inset panel details. My feeling of success quickly turned to failure. The smaller panels inside the detail started to warp. Then one of the details started to sag before I had a chance to remove the melted paint. Blocked again.
So I sanded, primed, and finished the large, flat stripped areas, re-hung the door, sat down and had a cup of coffee to plan my next move. Then it hit me. Sandblasting!
I needed a sandblaster for rusty cart parts so I did my due-diligence and visited Harbor Freight and bought a small unit that could be run with my air compressor. I taped up and protected the repainted part of the door, hooked up the compressor, put on the head covering, and started blasting.
At first, it seemed to work pretty well. Paint was magically disappearing, exposing the white plastic. Then as I worked down to one of the corners of the inset detail, with just a spit second pause, the sand stream ate a hole right through the door’s skin.
Well the blasting sort of worked but actually not. I used plastic body filler to patch the hole then sat down with a cup of coffee to come up with another plan. Then I had another cup, got distracted, and the door project stalled.
A few months later, I started thinking about replacing the door. It’s a Mastercraft brand, sold at Menards. We like the side lites and the door’s style so I thought I’d replace just the door.
I took some measurements and got online. The door itself wasn’t terribly expensive. However I started looking at the specifications and the replacement door would be 1/4″ shorter. The hinges were not in the same place and door knob and deadbolt holes were wrong as well. I called the company and they assured me that thier measurements haven’t changed over the years but they had. I couldn’t believe it, but I had to. I was looking right at it.
I could have ordered a ‘blank’ door without the hinges and holes cut but the fit would have be so critical for the weatherstripping and threshold, I rejected that idea.
Then I started thinking about replacing the whole thing: door, frame, and side lites. Until I looked at the price. My little project had started with $20.00 worth of paint and sandpaper to a $100.00 sandblaster to $300.00 replacement door to $1500.00 to replace the complete unit. Talk about mission creep. That option was crossed off the list.
So I sat down and had a cup of coffee to come up with yet another plan. I had a second cup and once again, the project stalled.
Months later, I hit on a solution (spoiler alert: the idea works). I couldn’t fix the problem so I decided to hide it instead. I would build some sort of something to set on top of the door to hide the peeling paint and the now-damaged insets.
The “final” solution
I’ve built panels before. Cabinet doors and such. But those type of panels would stick out on the door too far and would have looked like cupboards. That was not what I was looking for. The panels needed to be built out of solid wood, not plywood with maximum thickness of 3/4″. I did the research and decided on poplar, a stable wood good for exteriors. Menards had boards in 1×12″ sizes. Those would have to do.
To make the panels, I used an idea that I found on Youtube. I’ve embedded the video in case you’d like to see more detail of it’s done.
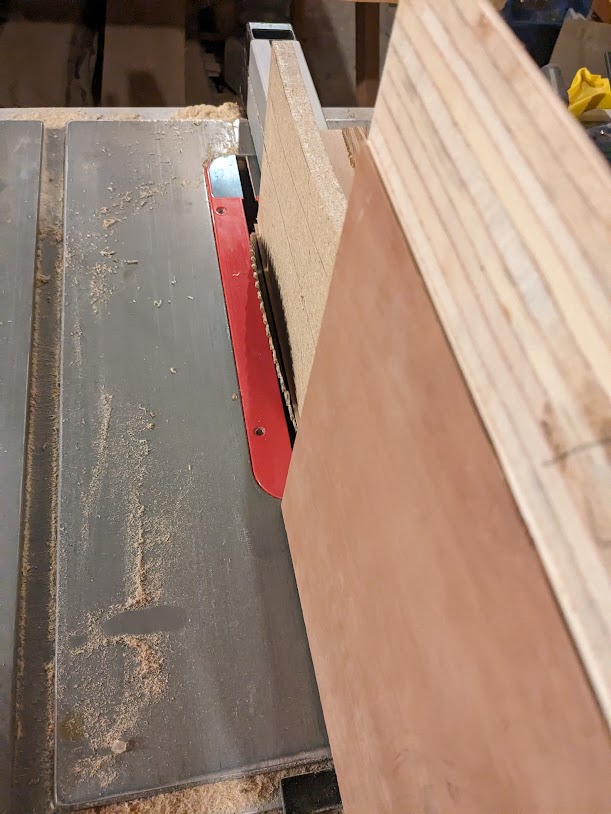
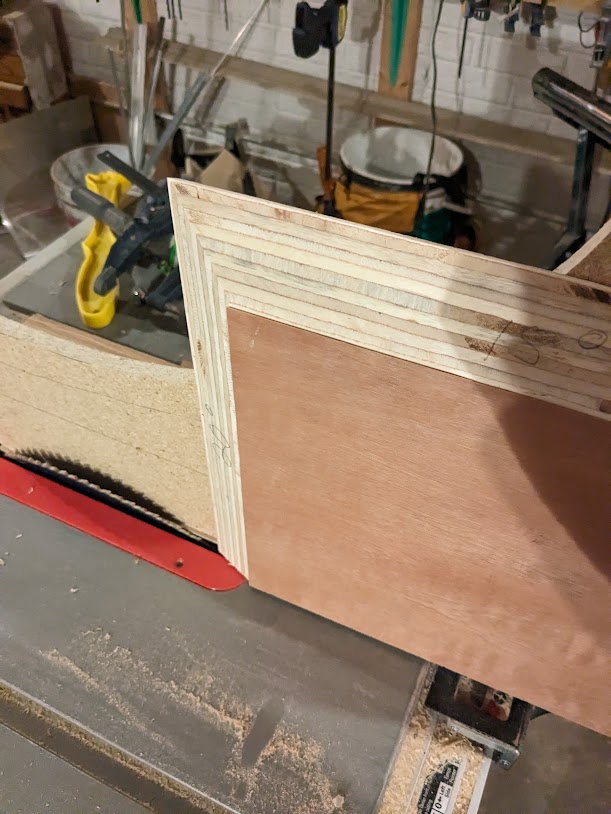
I built the jig just like the one in the video. I needed to make sure I had the right angle and depth so I used a piece of scrap 3/4″ plywood as practice. You’ll see the practice piece in other pictures. I wanted to be sure every step was correct.

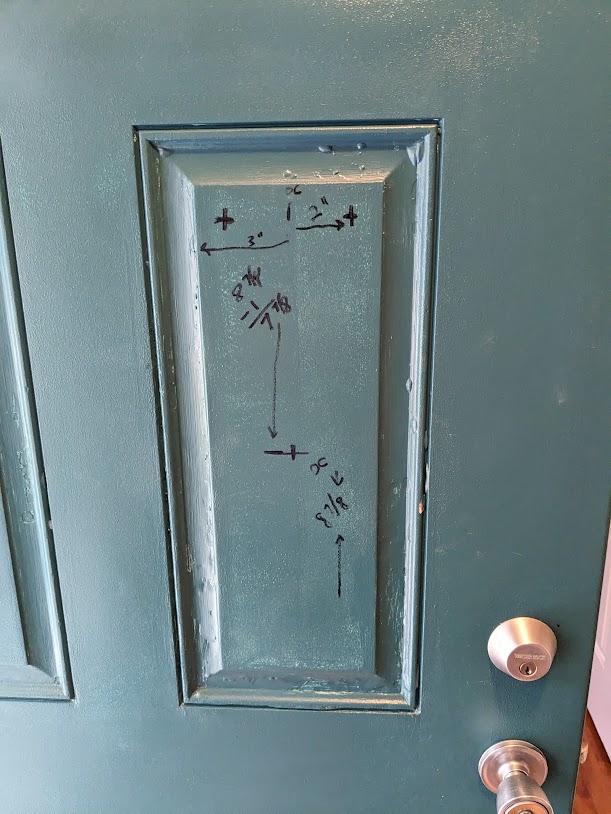
I took a lot of measurements to make sure I was cutting to boards correctly (put a pin in that thought for now). I wanted about 1/4″ overlap past the details and need to know where the center and corners were to drill the mounting holes (where you see the “+”). We’ll also circle back to the holes in a bit.
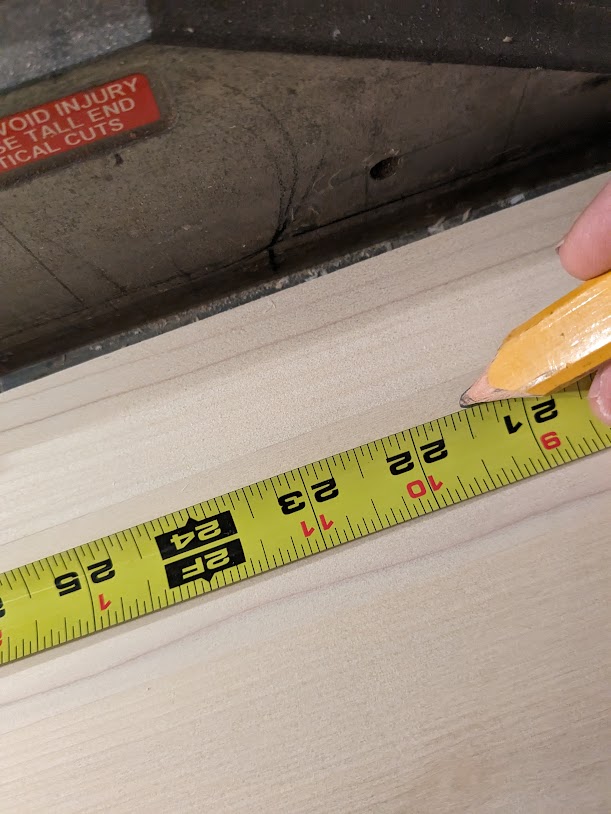
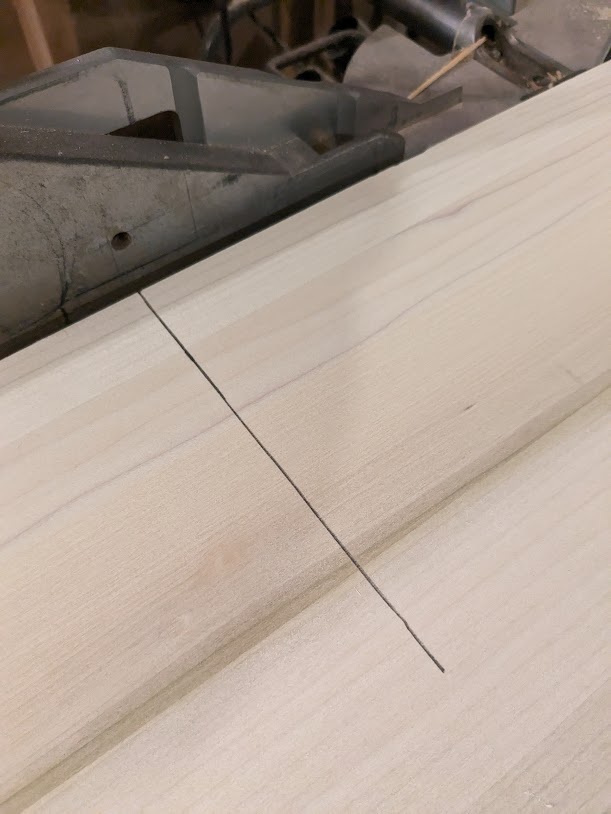
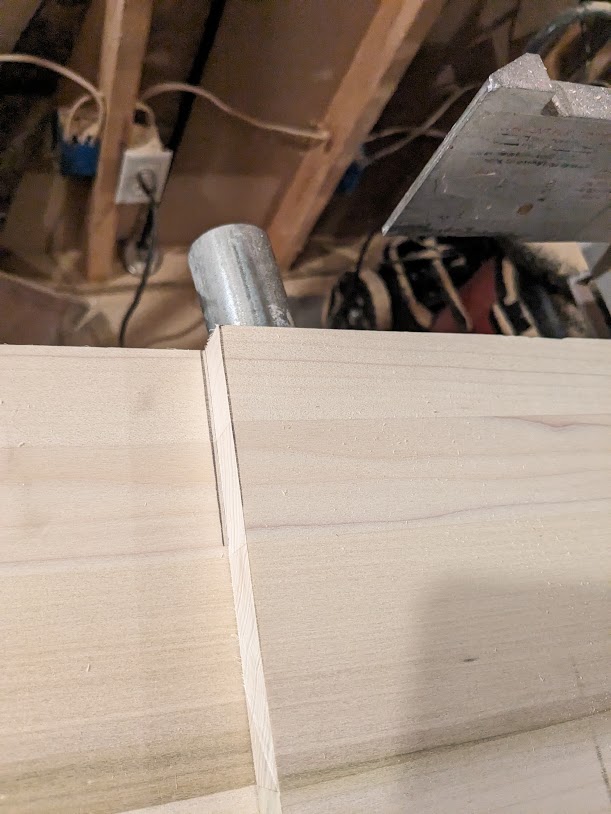
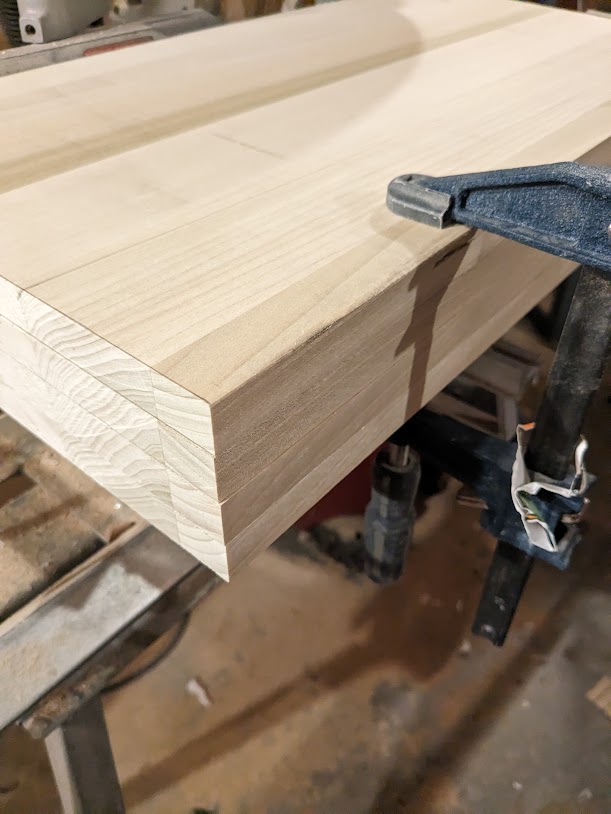
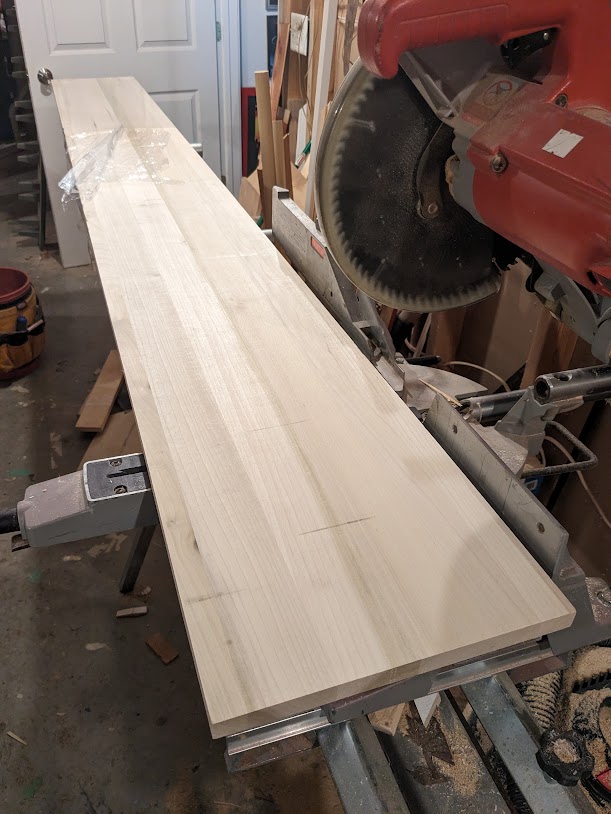
The next step was to rip the blanks to the correct width. I could have ripped the board before I cut the blanks to length but they were much easier to handle than an 8′ board. I set the fence to the measured width and quickly ripped all four blanks.
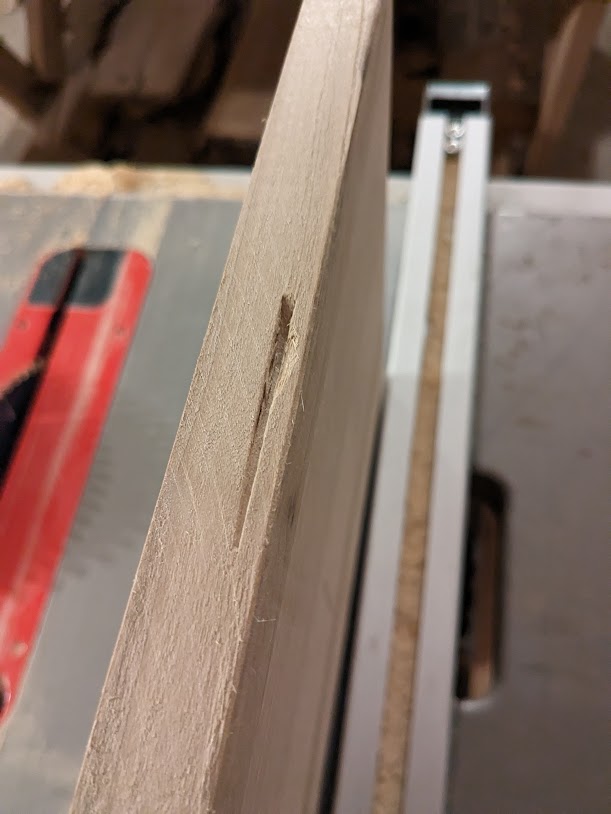
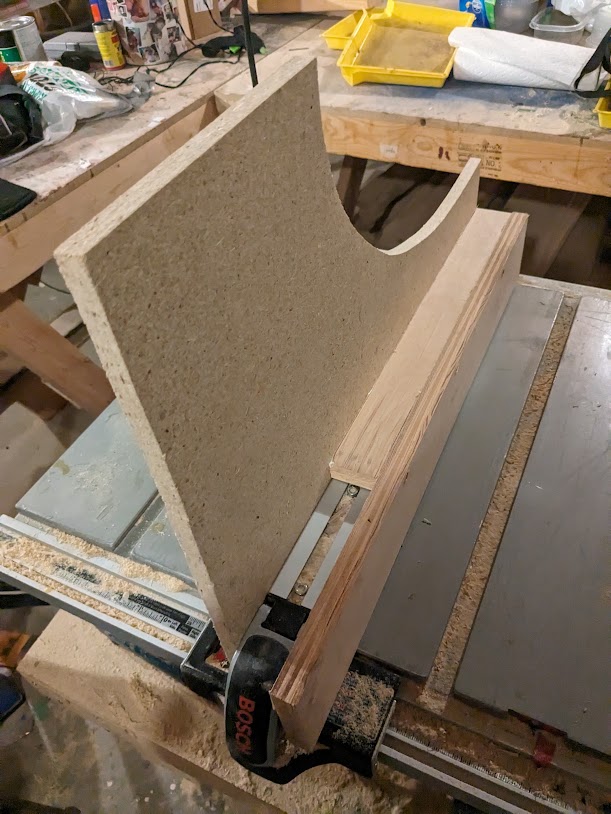
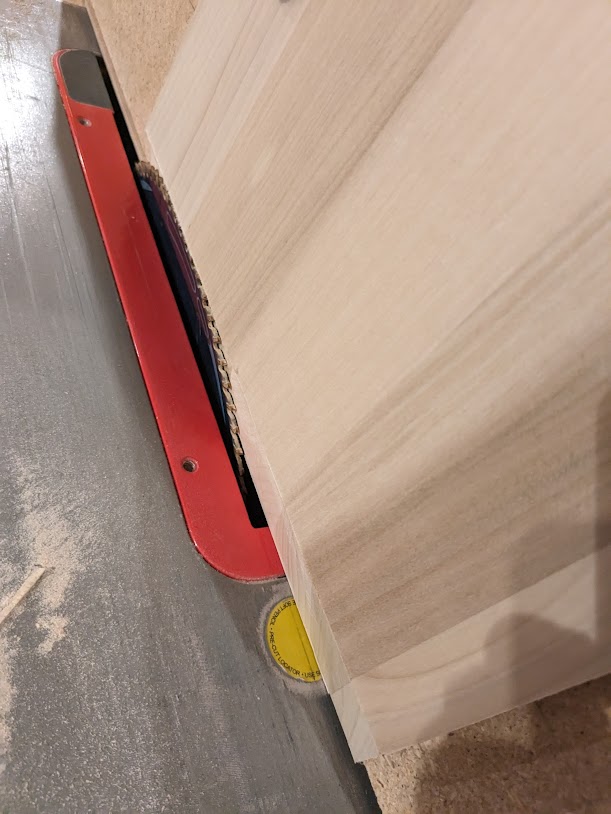
I had to run each board through the saw four times. The jig worked as advertised.
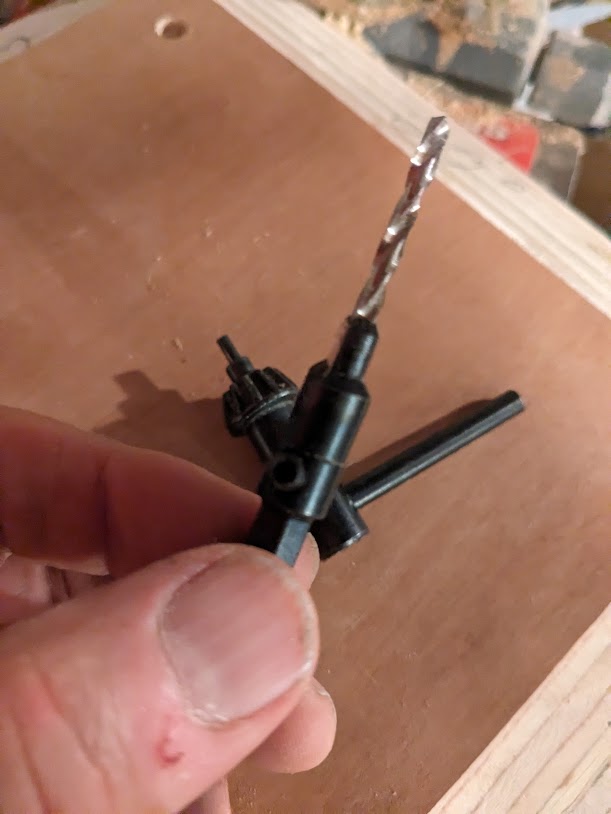
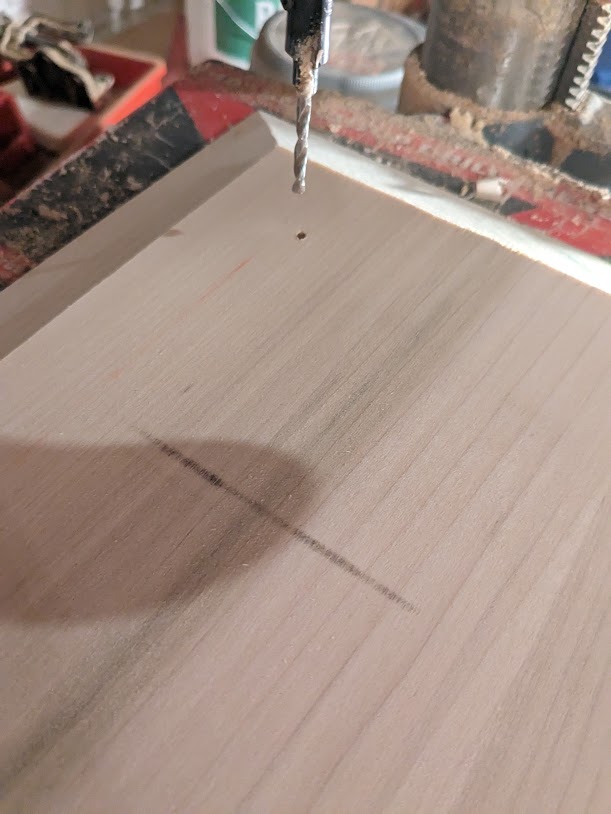
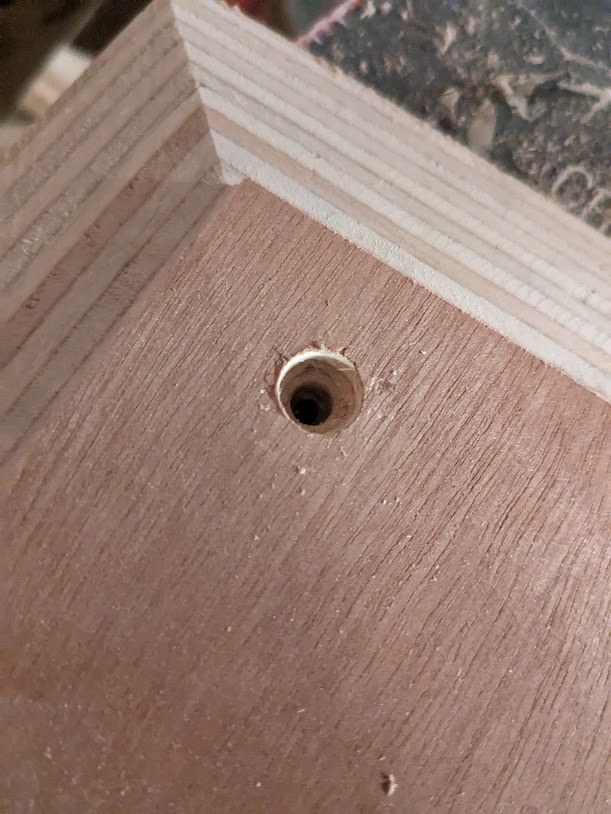
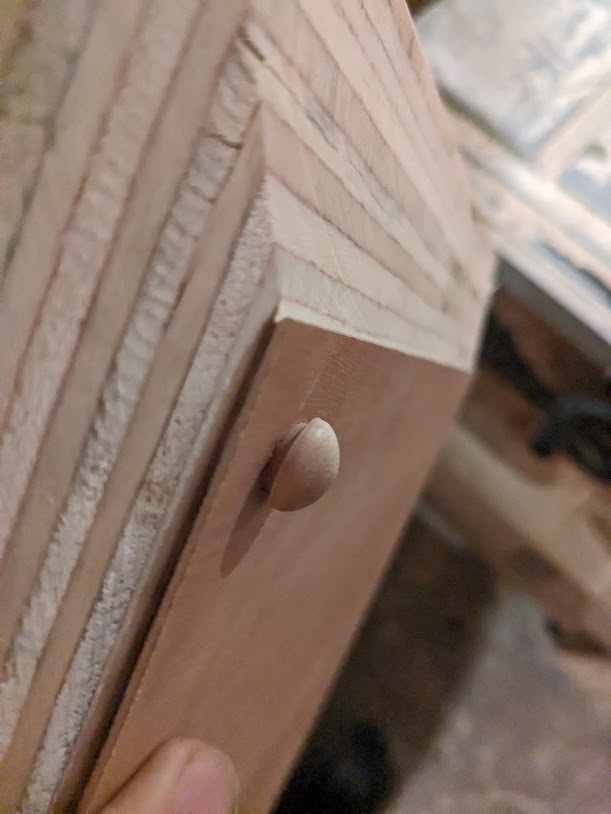
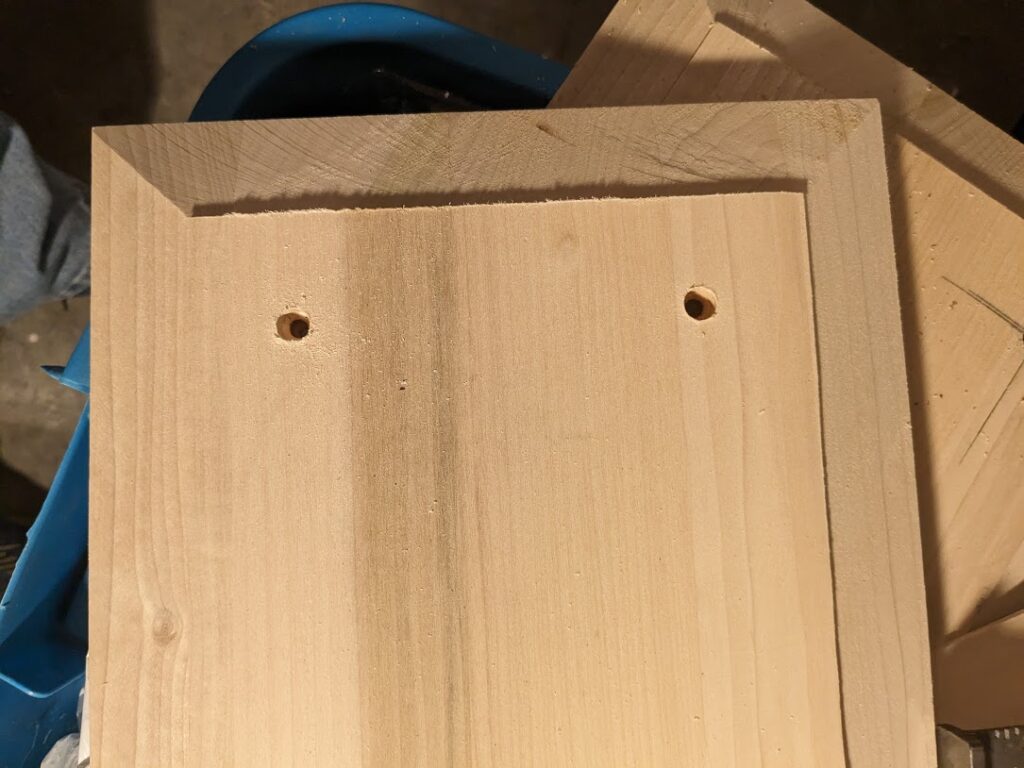
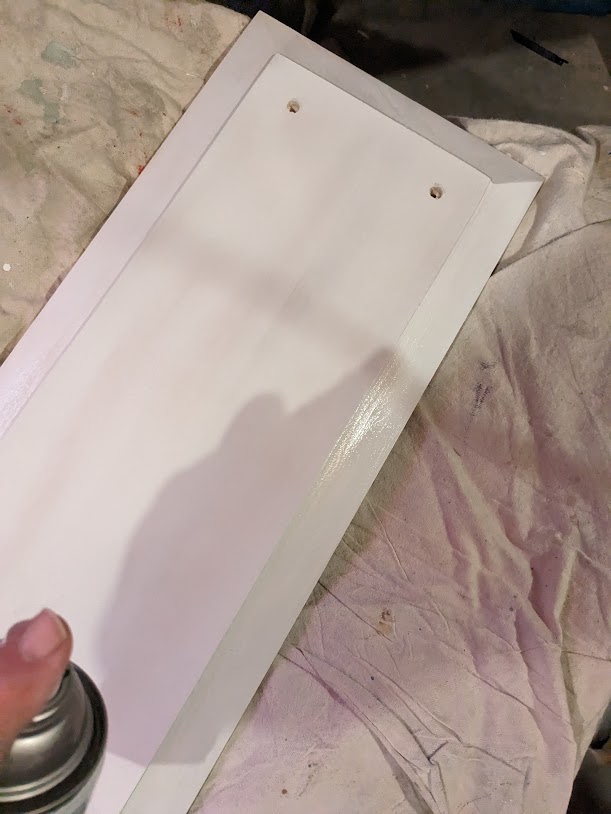
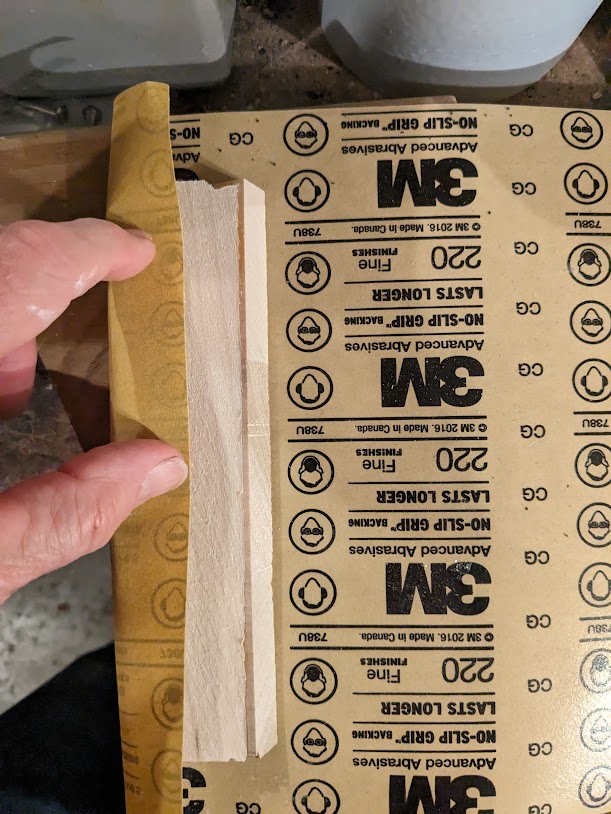
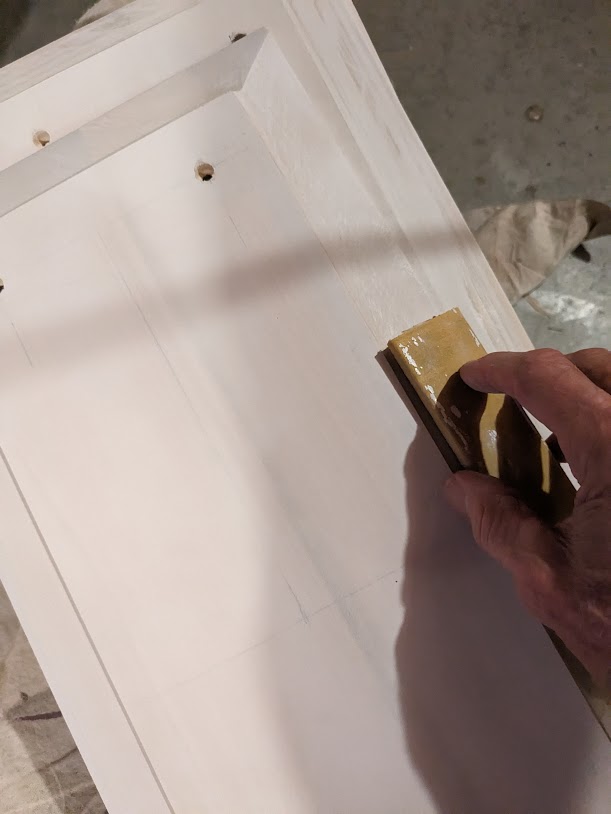
I anticipated a bit of sanding on the panels. I thought sanding the angles of the panels might be tricky so I made a special sanding board, constructed out of the cut pieces of the panel. They had the correct angle so a made a couple. They worked out just fine.
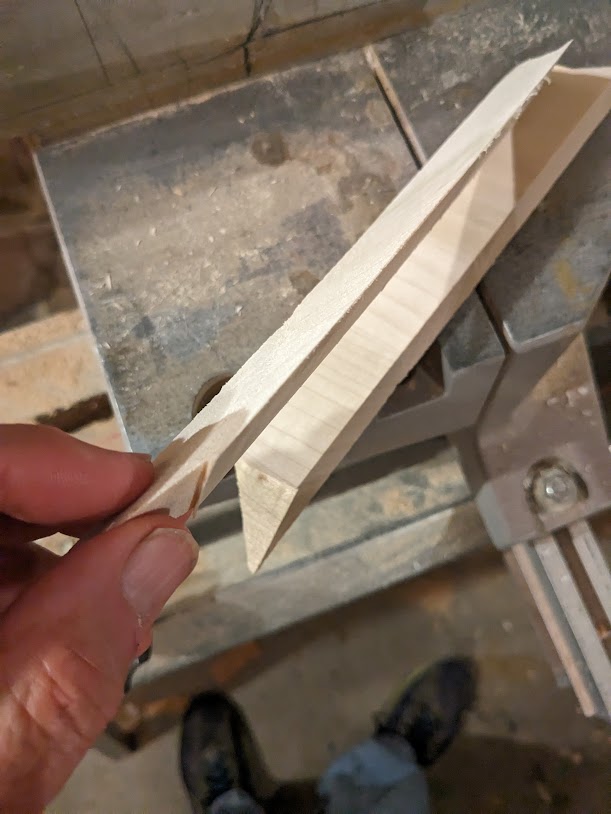
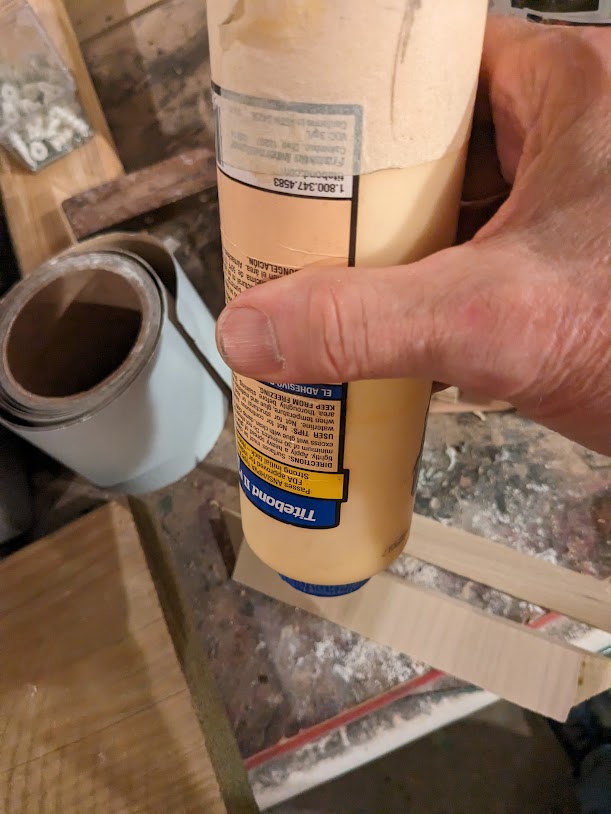
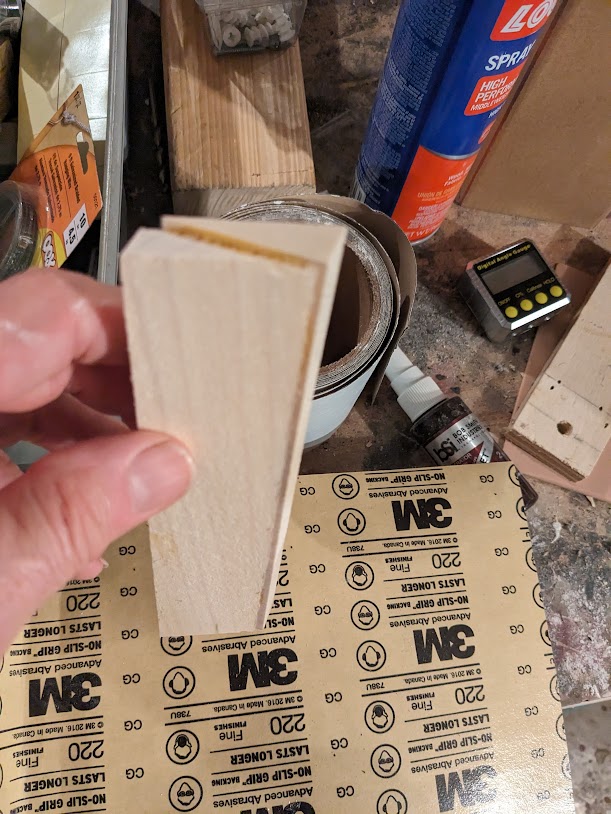
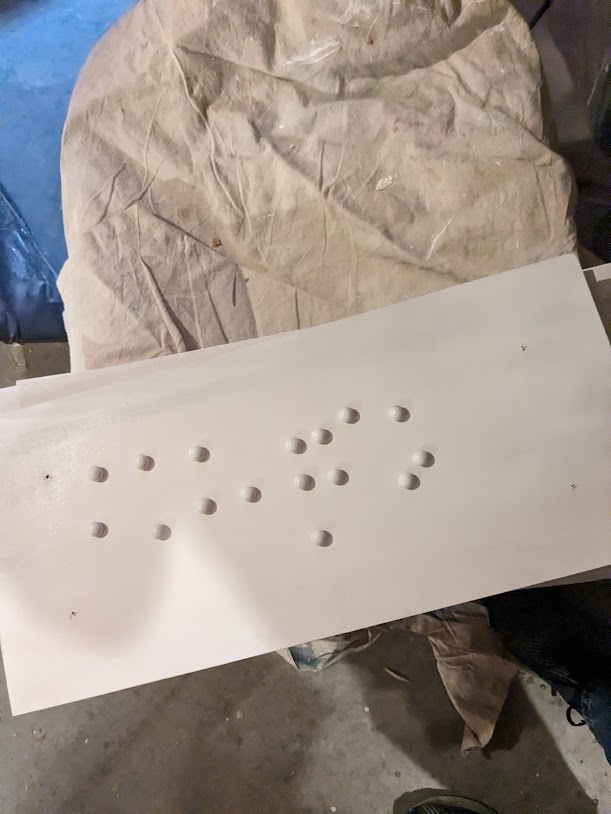
It was now time to install the primed panels. I took the door off the hinges to make it easier to work on.
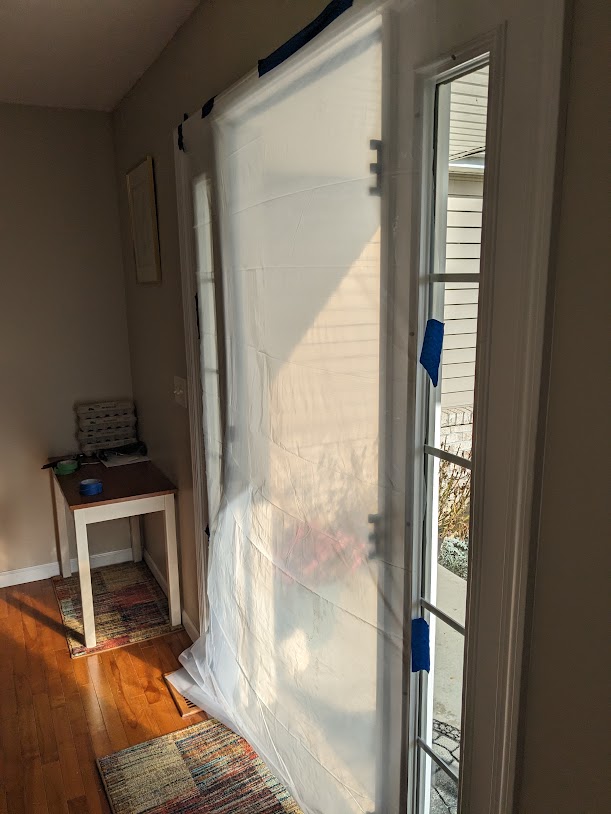
Funny story. Years ago, I had the door off to touch up the paint (see above re: too many coats of paint) and to install a stainless steel kick panel. I was having a cup of coffee waiting for the paint to dry when from upstairs, Mary asked a rather interesting question, “Is there an animal in the house”? Turns out there was.
We have a neighborhood cat, a very pretty black female that shows up from time to time. We see it mousing in the field behind our house, being chased by crows, and generally doing what curious cats do. We’ve even caught it sitting on our back steps, peering into the house.
But today was a surprise. I had not bothered to put up any plastic in the door opening. It would only take a short time for the paint to dry and the panel install. Well the cat had decided to see what our house was all about. She walked in exploring, even venturing upstairs, thereby surprising the lady of the house.
I met the cat coming down the steps and it ran into the dinning room, where it was cornered. Surprisingly, she allowed me to pick her up, but then decided that was enough and took off out the front door.
So that is why I put plastic up now. We have racoons, coyotes, and foxes that show up now and again and we’d rather not have any more uninvited guests.
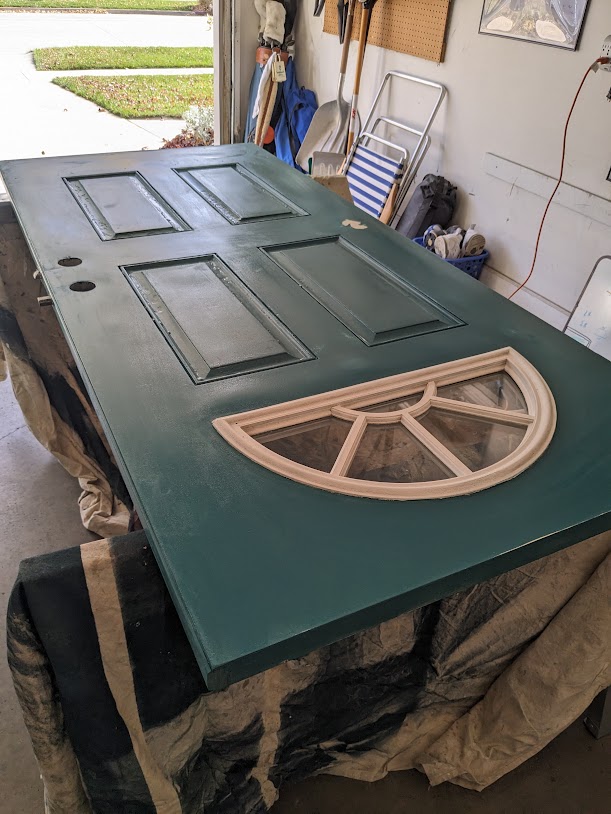
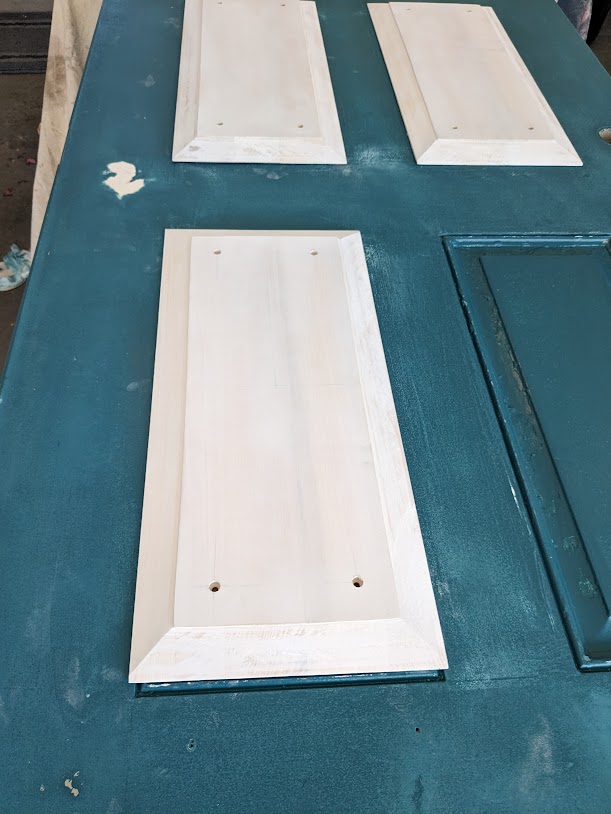
Rookie mistake! I hate it when that happens. The bottom panels were too short. In my defense, I had measured numerous times. But as it turned out, I failed to check the bottom inset details which were about a half an inch longer. Some manufacturing reason? Aesthetics and balance? No idea. All I knew is that two primed and sanded panels were too short.
So it was back to Menards for more lumber, then cutting, priming and sanding.
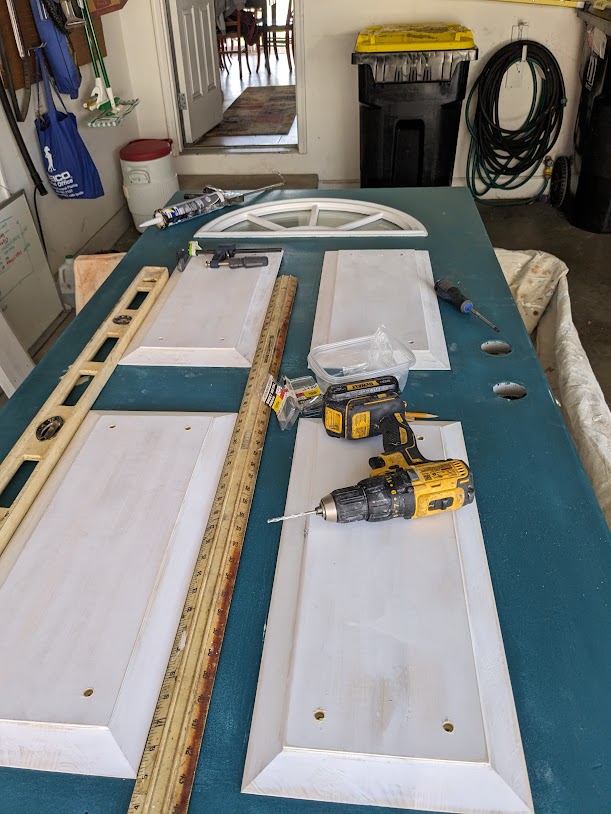
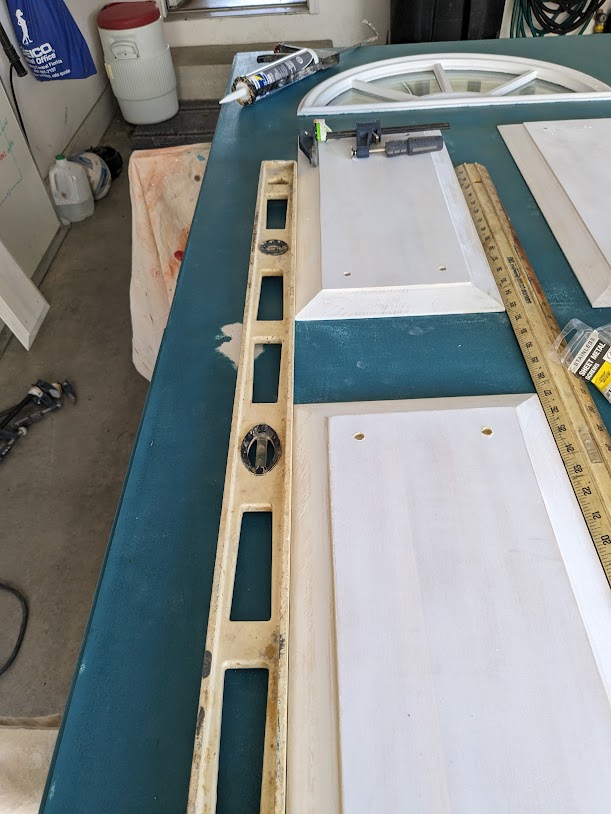
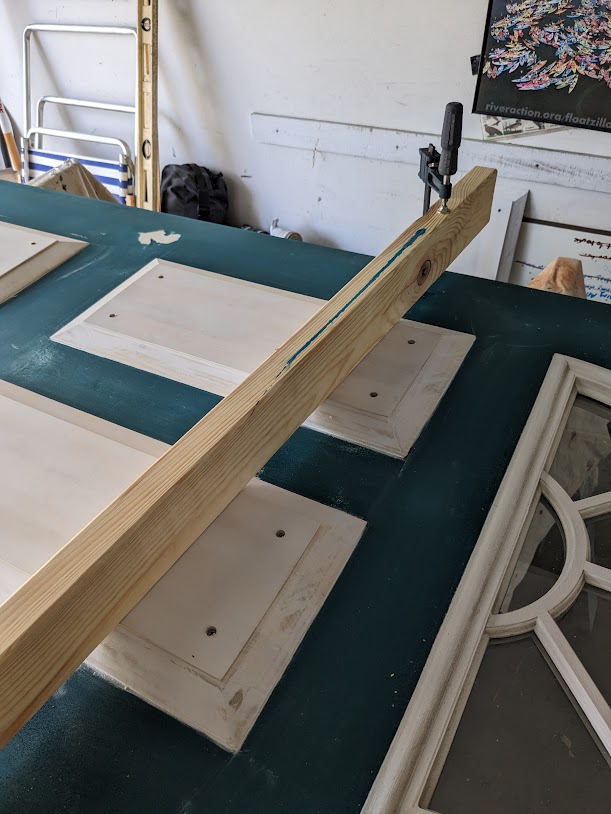
If you recall, I had slightly warped some of the door detail with the heat gun. Well, that issue did crop up. The warped panel stuck out a little, not allowing the panel to seat flat. The thin plastic door skin would not allow the screws to pull the panel flat. It would need to be flat against the door before tightening the screws.
I solved that by clamping a board across the door, then drilling the screws. Time will tell but I think it worked.
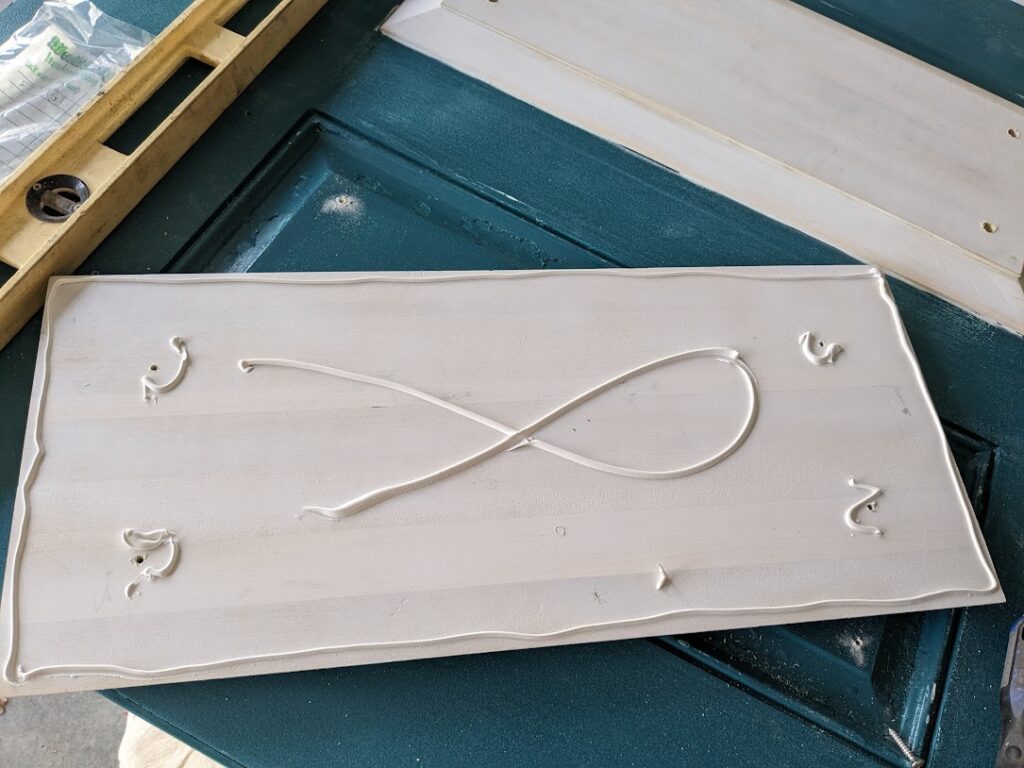
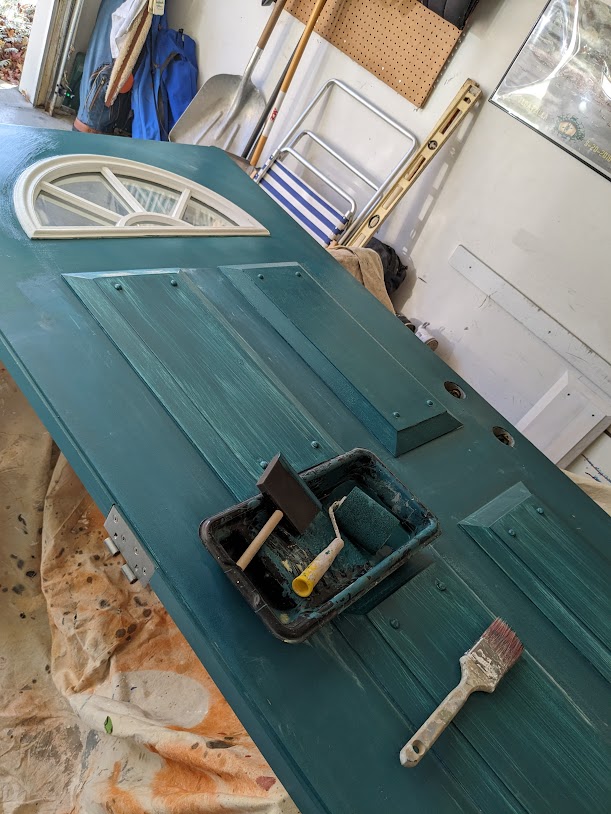
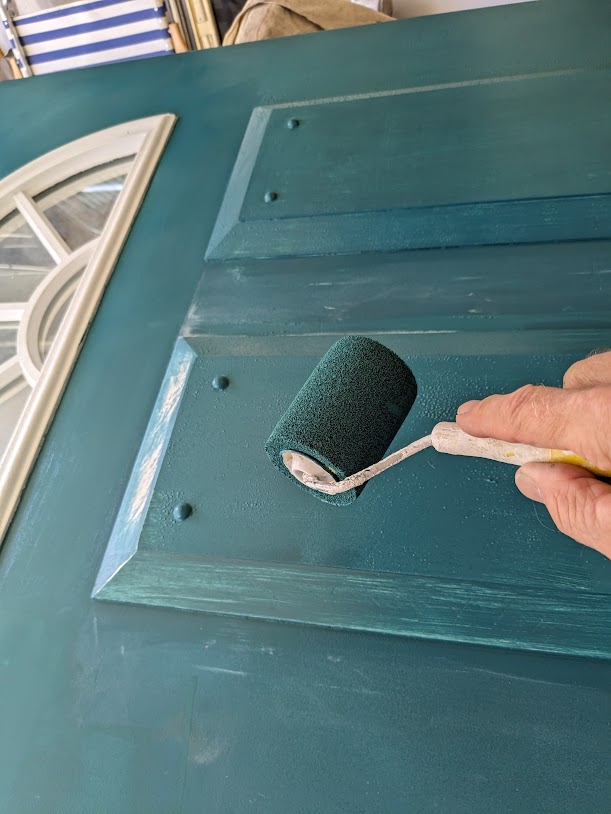
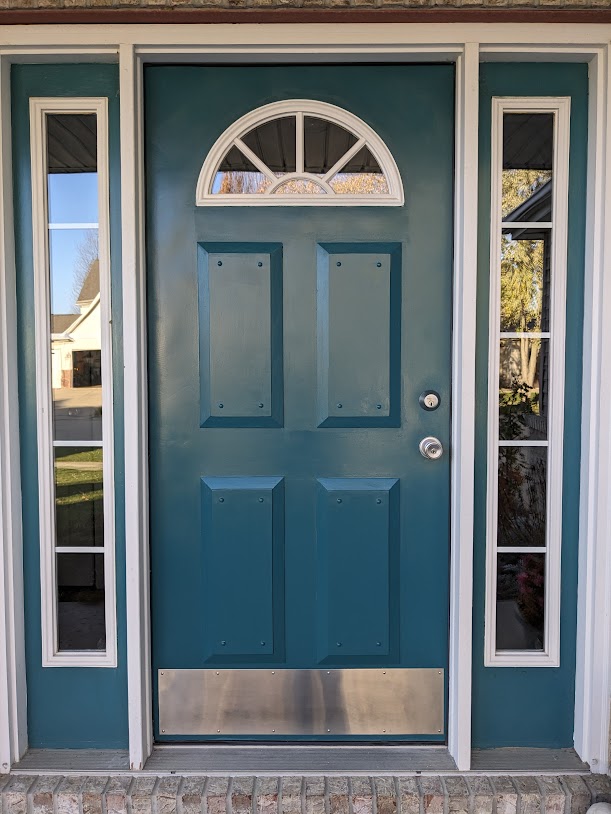
Will my solution work long-term. I hope so. It looks ok for now. It’s certainly unique. In fact if you look at it a certain way (not in this photo), the panels can look like insets. Kind of an shadow optical illusion.
Now for my backdoor. It’s not closing correctly. That should be easy to fix….
