I had a project request from some very special clients. They needed hand rails for a 3-step drop into their family room.
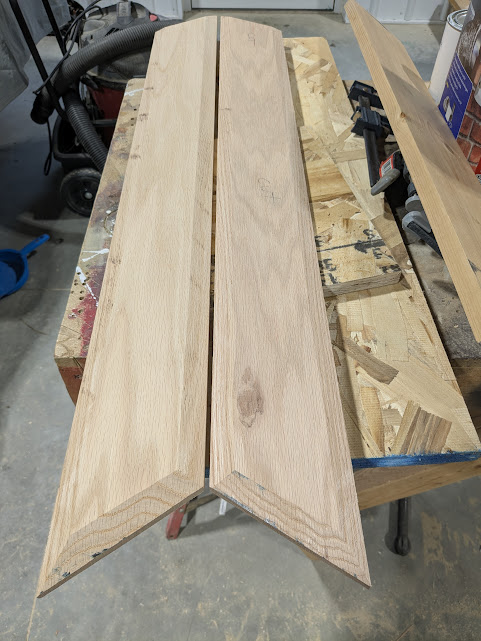
I’ve built and installed hand rails before; both new or replacements. This project, however, had some very important details. There were going to be two handrails, one on either side. This meant that not only did they have to be built identical, but had to be mounted evenly. A mirror image if you will.
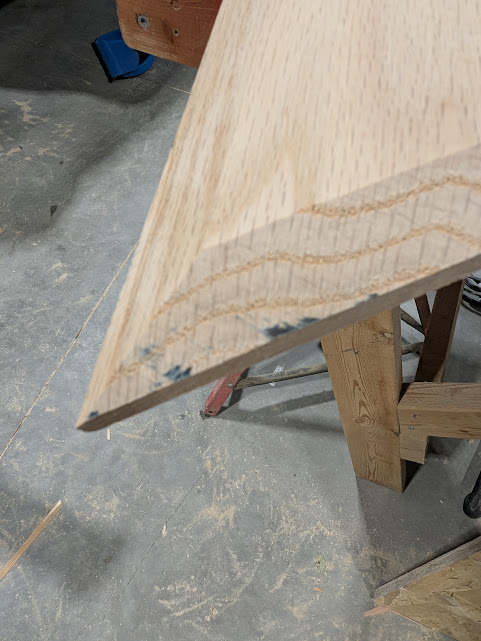
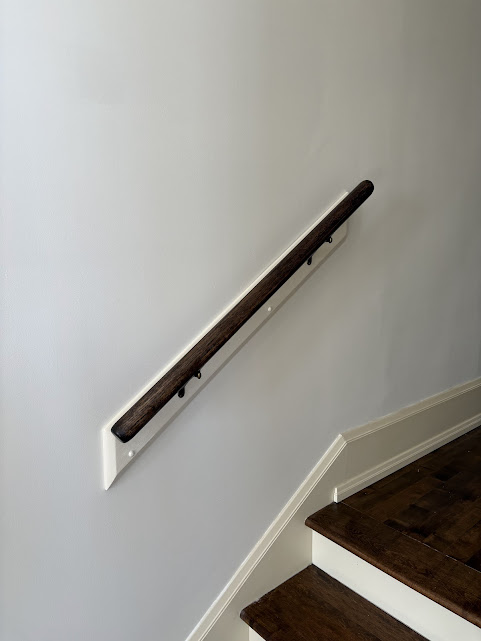
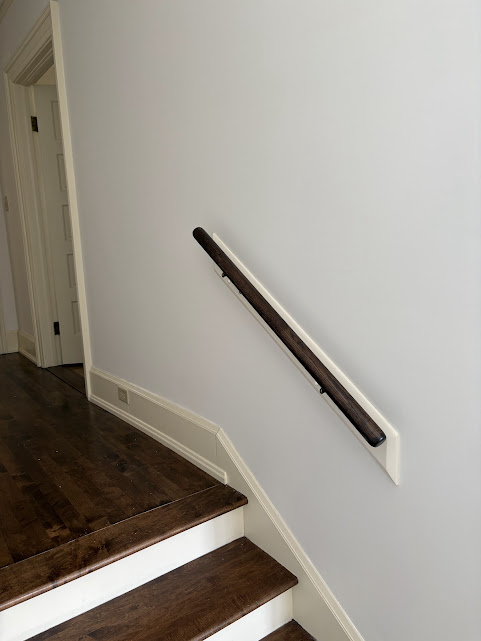
There are a number of other railings in the house so the new railings needed to match the existing rails in appearance. The hand rails were rounded at each end. And the mounting board was cut with specific angles and bevels.
I started by measuring an existing railing.
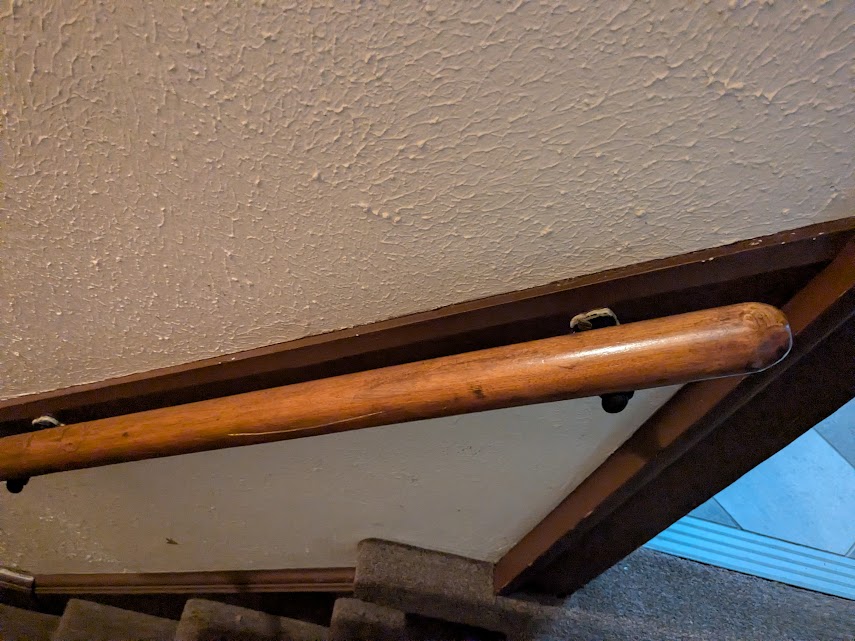
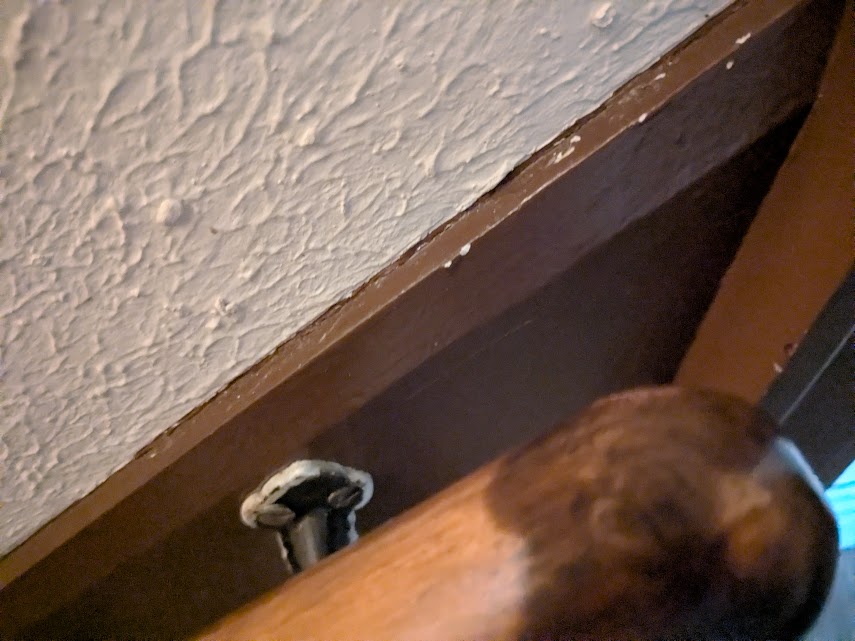
Not all railings need or have mounting boards. Many brackets just screw into the wall. But finding the stud and getting the screws aligned properly can be tricky in older construction. Plus drilling and anchoring into plaster may not get you that solid and stable connection. Above all of that, I think they look fancier. And we wanted to maintain that style. All of the rails in the house have mounting boards
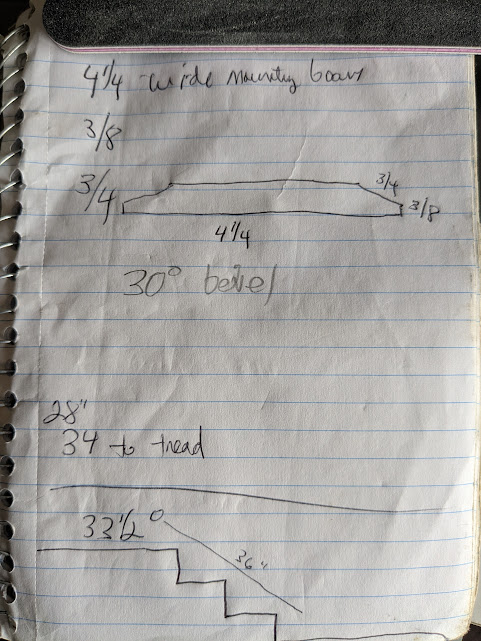
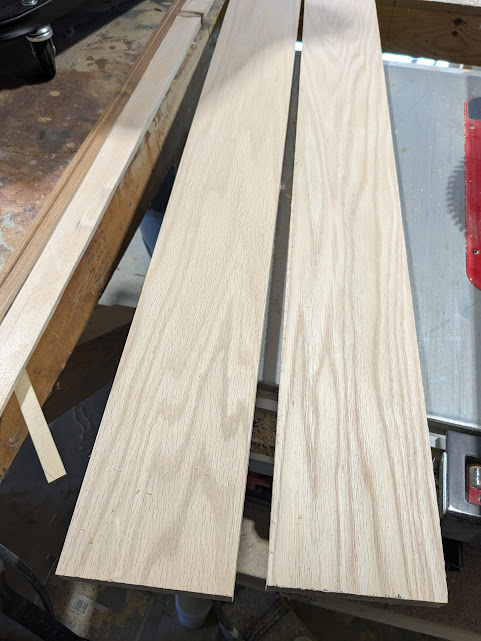
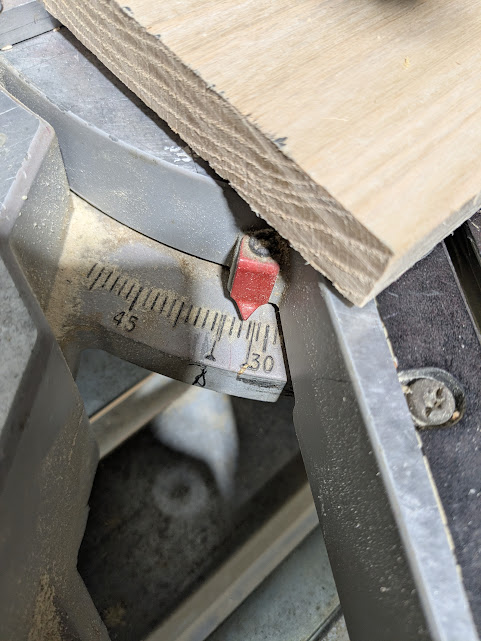
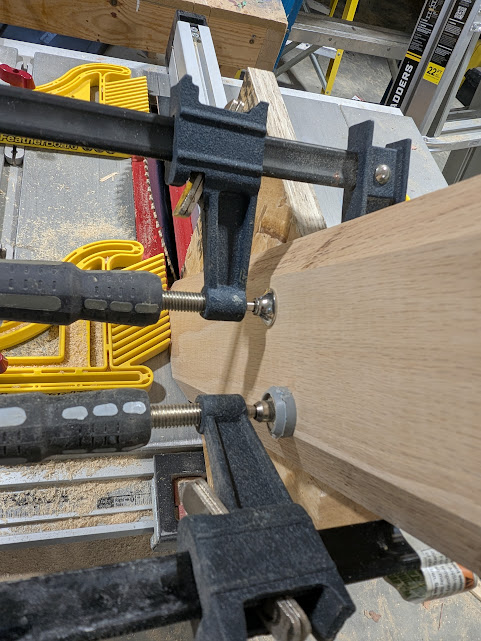
The backing board measured 4 1/2″ so I would need to rip a 1×6. After doing some math around the 3/8″ and 3/4″ bevel I somehow came up with a 30 degree angle. I’m not sure how I did it but it turned out correct.
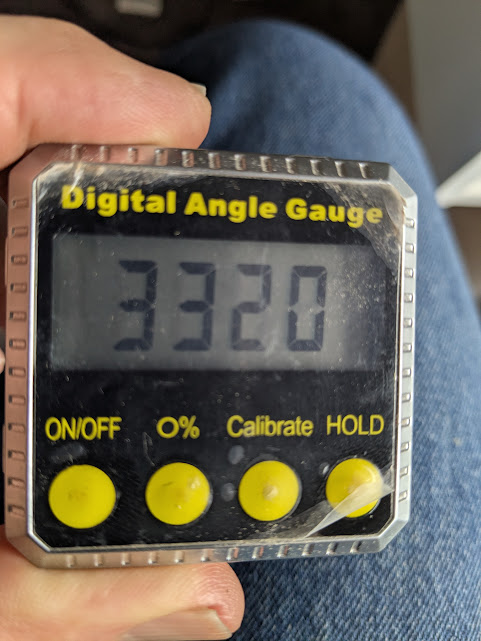
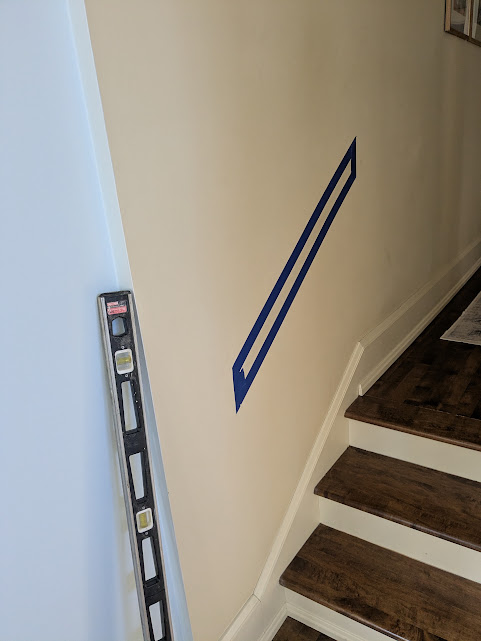
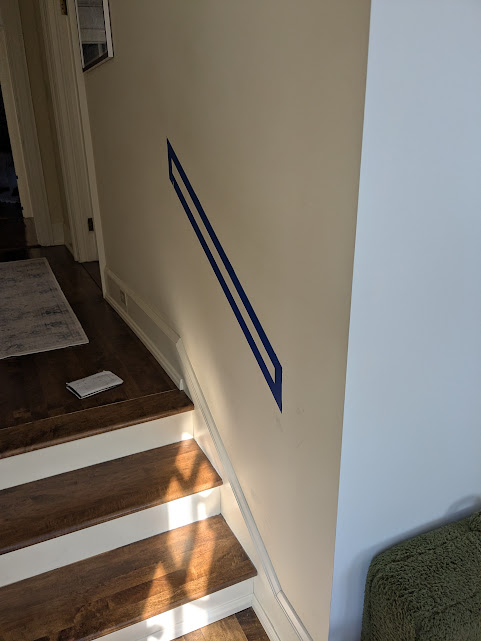
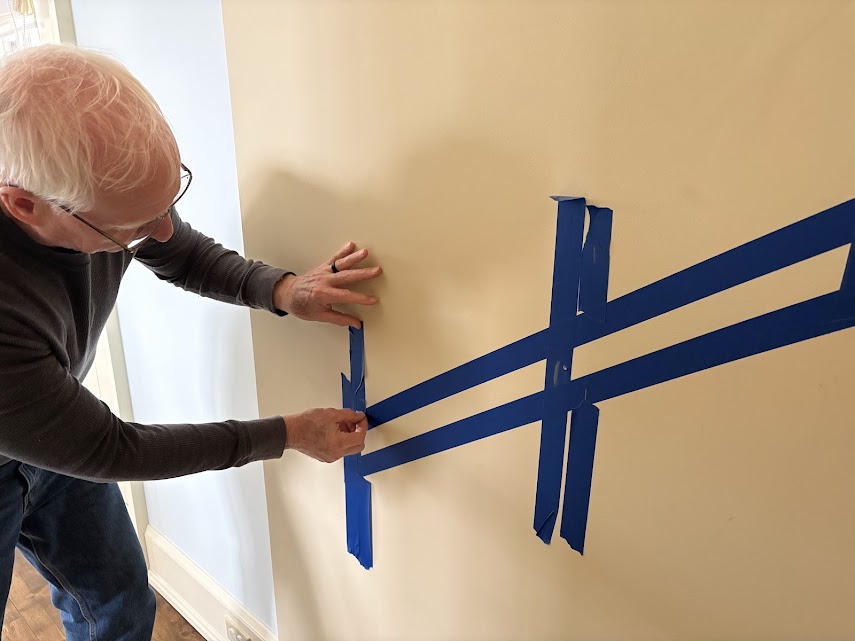
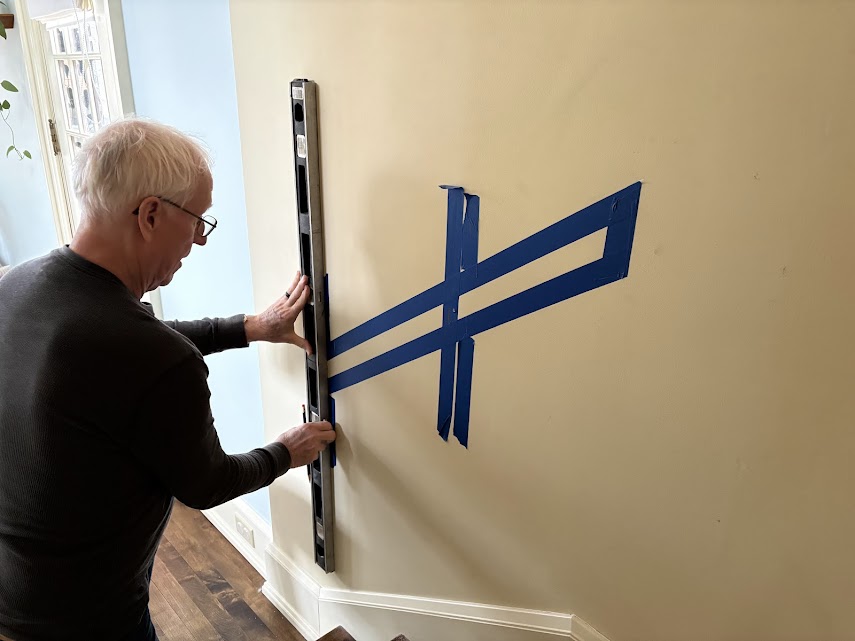
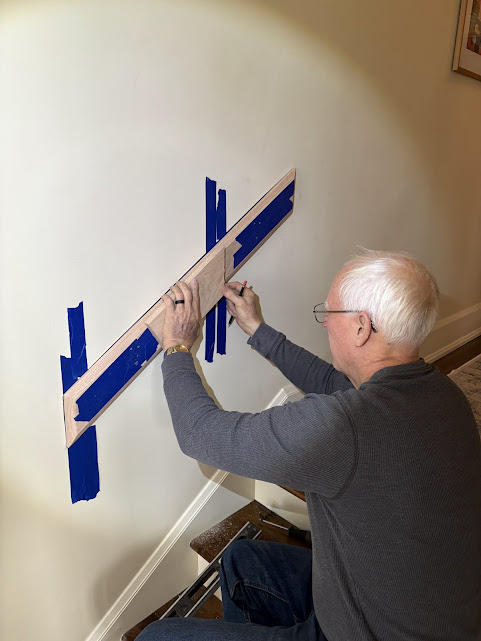
I then measured where the railings would go. The steps measured 36″ top to bottom and using my trusty digital angle gauge, I came up with a little over 33 degree angle. I also used the standard constant of 32-38″ rail height and after some application of masking tape, I established the location of the rails and boards.
A trip to Menards and I choose the lumber and the railing. Oak, surprisingly, was almost the same price as pine and poplar so it made sense to use the best. Oak is more stable and looks especially nice when stained.
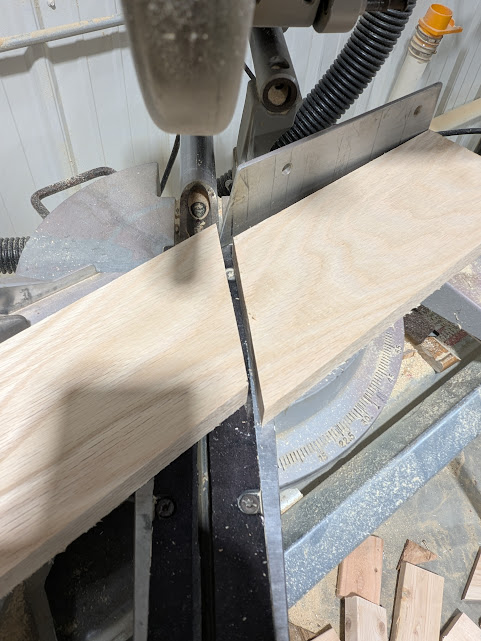
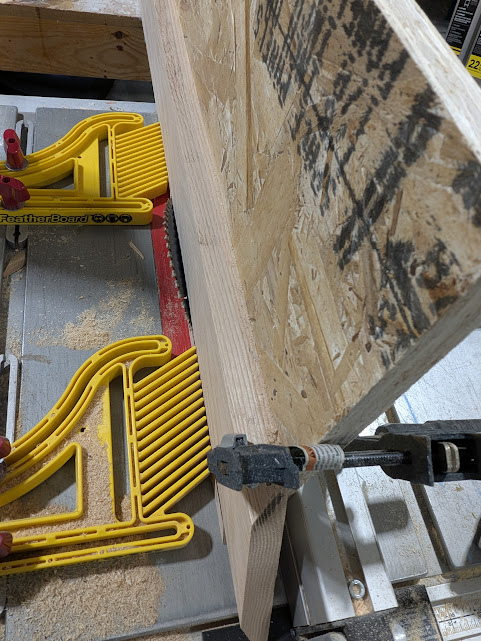
Next I measured the ripped boards and cut the ends to match that magical 33 1/2 degree angle.
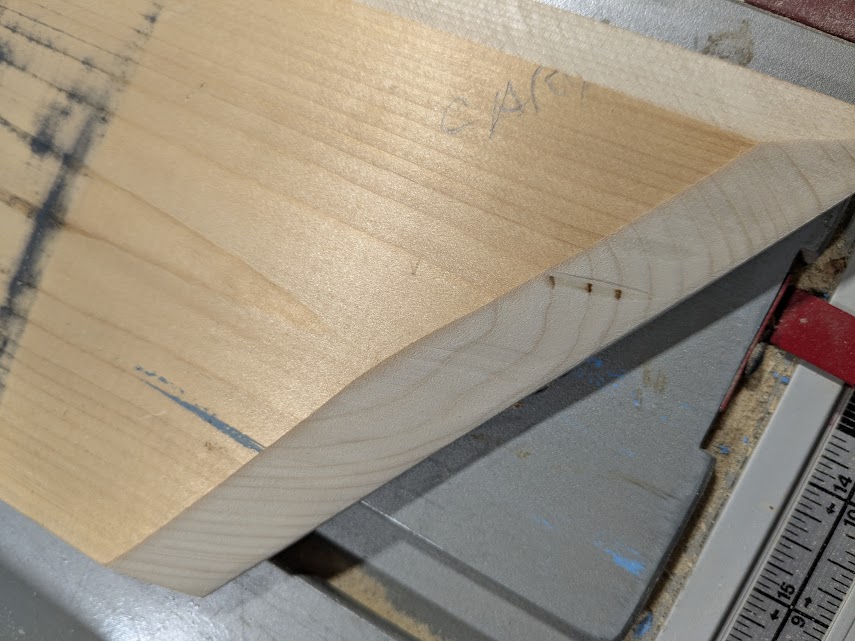
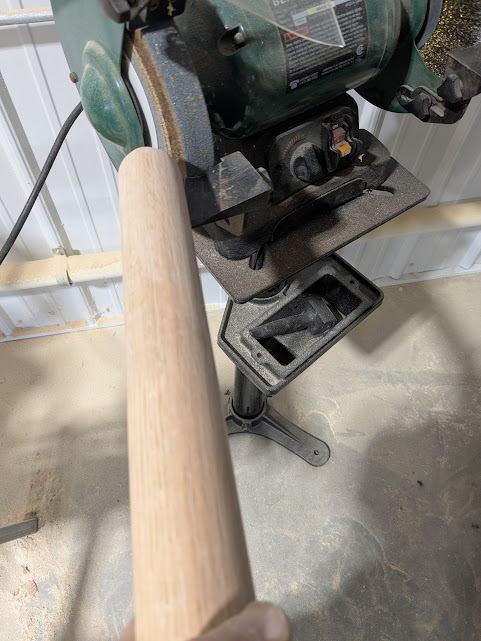
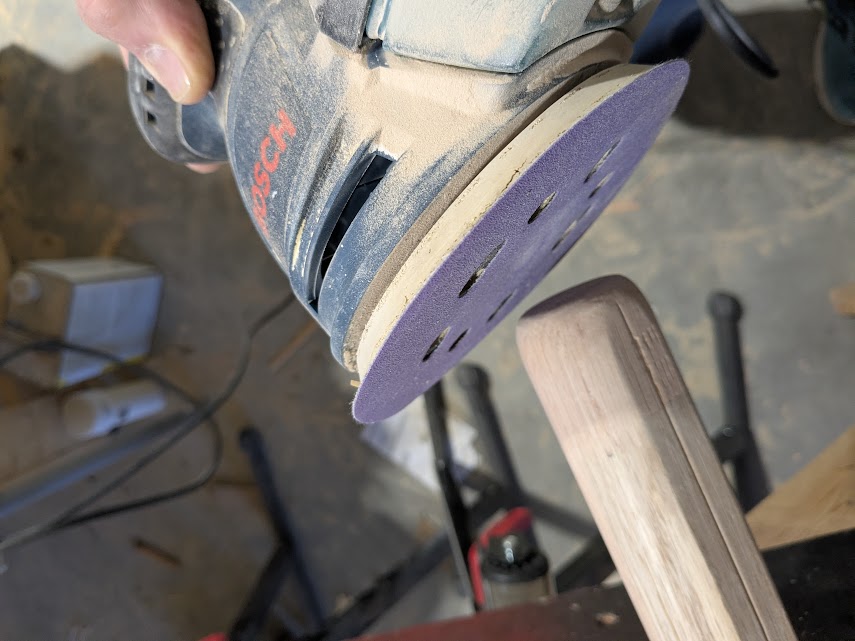
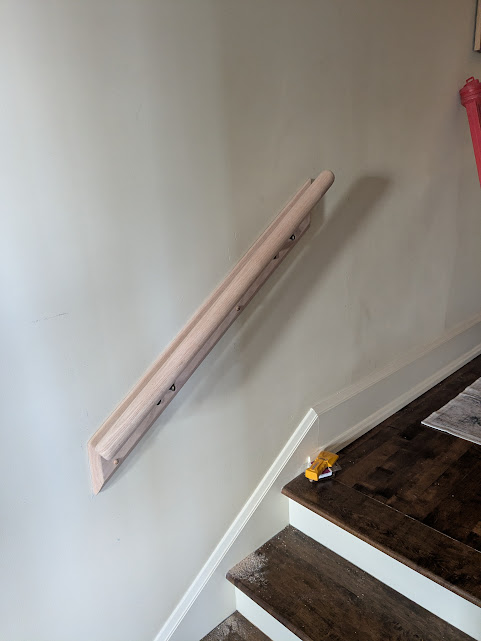
Next was rounding the ends of the railing. Once again, I had some scrap railing left over an was able to practice getting the proper angle and curve.
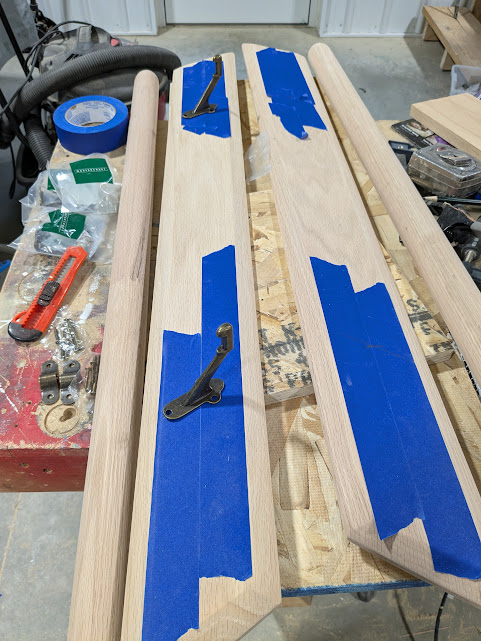
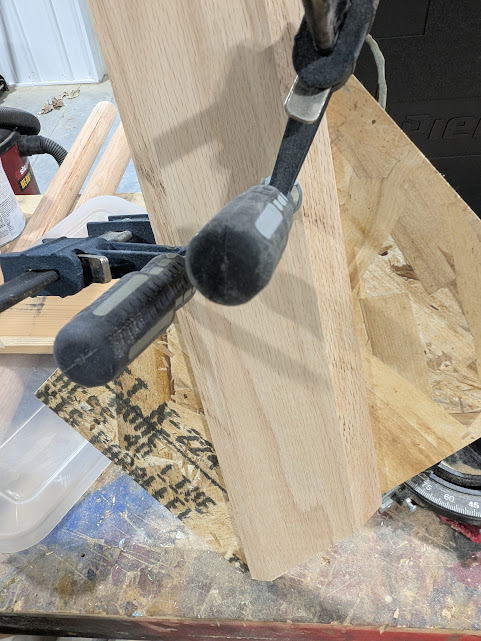
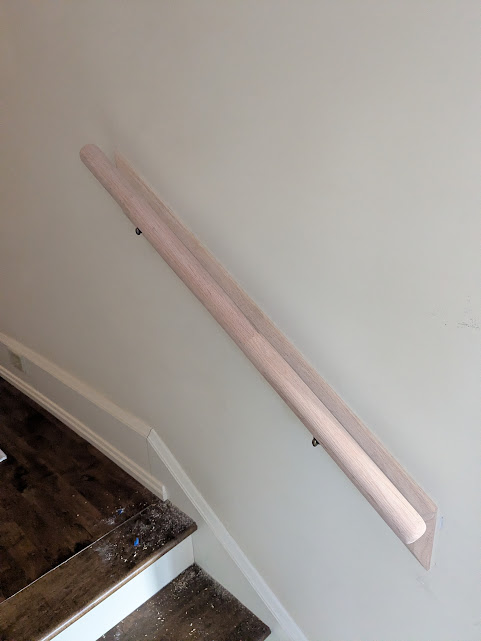
I drilled the mounting holes, set the brackets then screwed the brackets to the underside of the handrail. They were now ready to be installed.
Using a stud finder, I located the studs inside the wall, drilled the holes with a countersink bit and tightened them to the wall.
I used button plugs to cover the screw holes and the project was almost done.

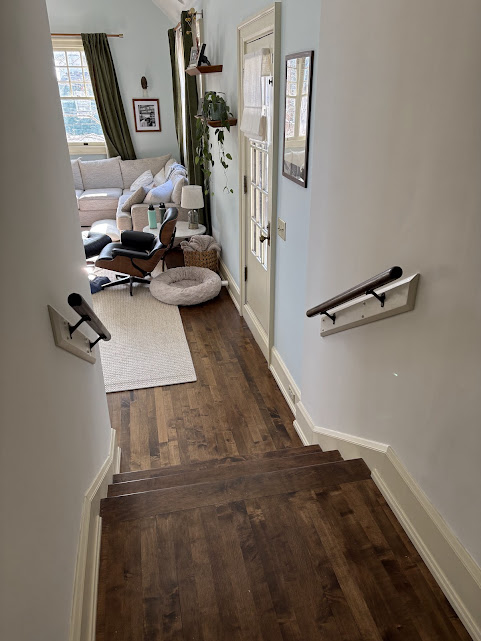
They look like they’ve always been there. And that’s one sign of a successful project!